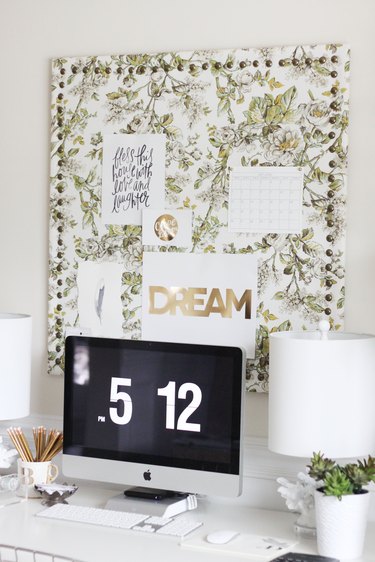
If you're looking for a way to stay organized and display your inspiration, a memo board is the ideal solution. A fabric memo board is something that not only looks great, but it is also fairly easy to create. By choosing an interesting floral fabric and adding nailhead trim, it creates a lot of visual interest and almost acts as a piece of artwork, too.
Video of the Day
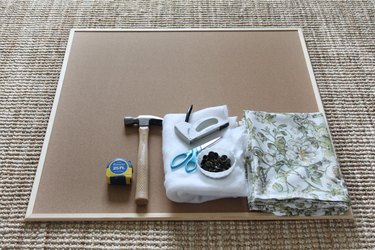
Gather Your Materials:
Things You'll Need
Cork board
Battting, slightly larger than your cork board
Fabric, also slightly larger than your cork board
Staple gun
Hardware for hanging cork board
Scissors
Measuring tape
Nailheads
Hammer
Step 1
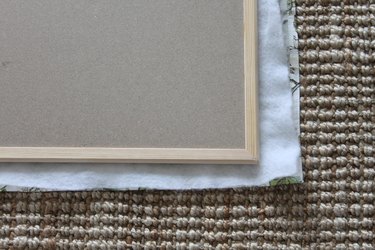
Lay your fabric wrong side up on a large flat area. Next, lay your batting on top of the fabric. Then lay your cork board on top of the fabric and batting, with the back facing you. It is best to work on a carpeted surface or to lay a thick blanket down before you get started to prevent damaging the surface underneath.
Video of the Day
Step 2
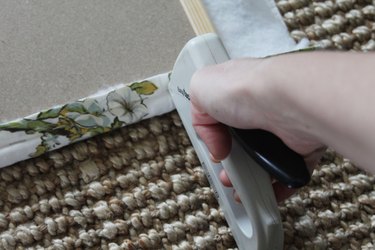
Staple your fabric and batting to the wood frame on the back of the cork board. You can staple them each separately or at the same time. However, stapling both pieces at the same time will reduce the amount of staples on the back of the frame. Make sure to pull the fabric taught as you go around.
Step 3
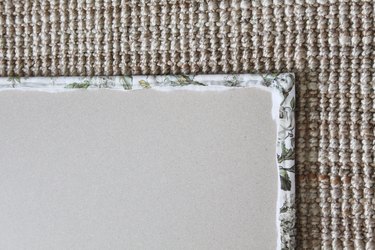
Use a pair of scissors to trim the excess fabric and batting.
Step 4
Attach the hanging hardware to the back of the board, making sure that both sides are even.
Step 5
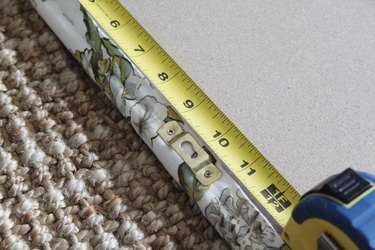
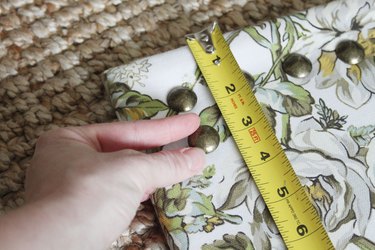
Flip the board over to the front and start adding the nailhead trim. Oversized trim was used for this board and spaced about and inch and a half apart. Pierce the nailhead through the board, either through the cork board portion or through the wood frame. If you choose to position them on the wood frame, you will need to gently tap the head with a hammer to get them to go through.
Step 6
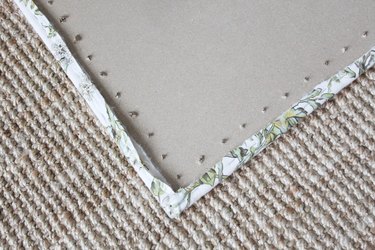
Flip the board over to the back side and check to see if the shank of your nailhead trim is poking through. As you can see it was poking through on the back of this board.
Step 7
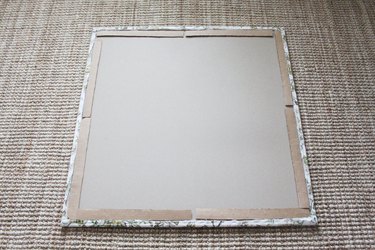
If you notice that the shank of the nailhead trim is poking through the back, use some leftover cardboard as padding to prevent the sharp points from damaging the wall.
Step 8
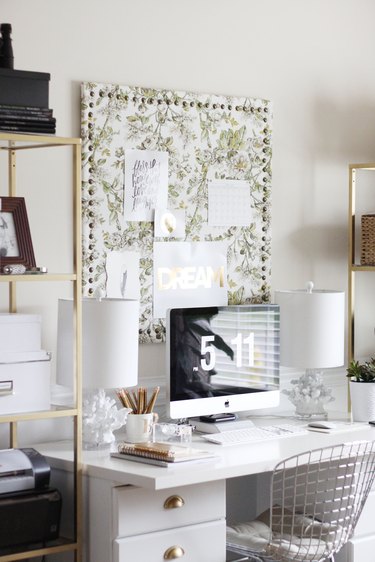
Hang your board on the wall. Start by deciding where you want your board to hang. It's usually a good rule of thumb to hang artwork about two thirds of the way up the wall, or about eye level. Have someone hold the board on the wall where you want it to be. Then make a mark on the wall where the hook is on one side. Next, take the board down and measure the distance on the back between the two hooks. Using that measurement, make another mark on the wall, starting at the first mark you made and measuring across the wall horizontally.
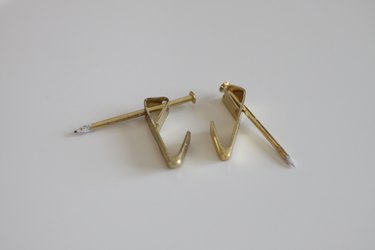
At this point, it's good to use a laser level to make sure both of your points are even. If you don't have a laser level, you can also measure from the floor to each point, making sure both marks are equidistant from the floor. These hooks, pictured below, from the hardware store are great for hanging something like this. They are easy to use and can hold a significant amount of weight.
Step 9
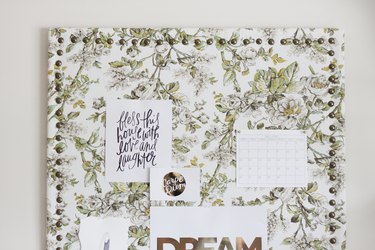
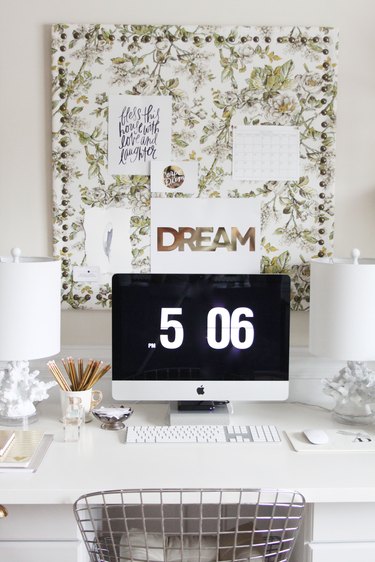
Start filling your board with inspiring images!