
If you prefer listening to iTunes on your computer, or want to sync all of your songs to an Apple mobile device, you can easily move your song library from Windows Media Player over to iTunes. You can import single songs or every song in your library with just a few mouse clicks. Although iTunes 12 doesn't support WMA files, it can quickly convert them during the import process.
Move a Single Song to iTunes
Video of the Day
Step 1

Launch Windows Media Player and locate the song you want to transfer to iTunes. Right-click the song title and select "Open File Location" from the drop-down menu. File Explorer immediately opens showing the file in its folder.
Video of the Day
Step 2
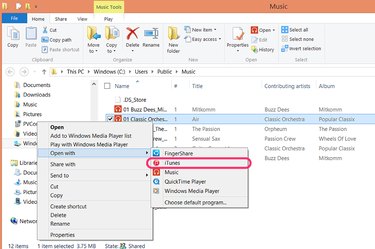
Right-click the song file in File Explorer. Click "Open With," then select "iTunes." ITunes opens, imports the file into its own library and immediately begins playing the song.
Step 3
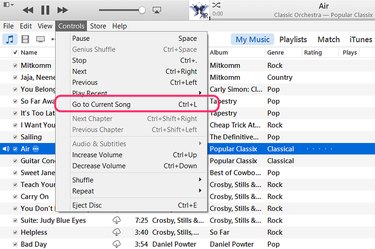
Press "Ctrl-L" to quickly go to the currently playing song if you don't immediately see it in your iTunes library. Alternatively, click the "File" menu and select "Go to Current Song." Imported songs may be difficult to find in a large library, especially if iTunes can't recognize the artist, song or title and leaves those fields blank.
Importing Several Songs into iTunes
Step 1
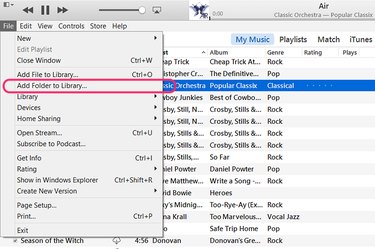
Launch iTunes and click "My Music." Click the "File" menu and select "Add Folder to Library." This opens a navigation window from which you can select an entire folder of songs.
Step 2
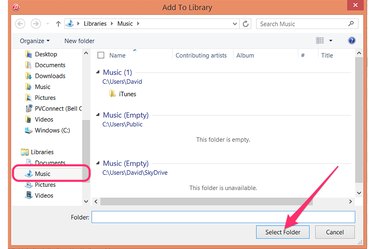
Locate the folder containing your Windows Media Player songs in the navigation window. Unless you've changed the location, this should be the "Music" folder listed in the left menu. Click the "Select Folder" button.
Step 3
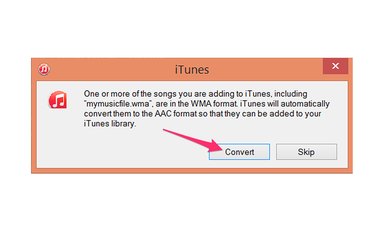
Click "Convert" if a dialog box opens notifying you that one or more files will be converted. This happens if you are importing WMA or MP3 files into iTunes, which uses AAC format -- also known as M4A -- as its default setting. Since iTunes makes its own copies of your songs, this won't affect the files in your current Windows Media Player library.