
How to Restuff Dining Room Chairs

With wear and age the stuffing in upholstered dining room chairs can become flattened or bumpy. One option for returning them to their former comfortable state is to have them professionally reupholstered using new stuffing materials. A more extreme alternative is to replace them. If you are working within a tight budget or simply like your dining set too much to buy a new one, neither of these possibilities will work for you. Think about doing the job yourself. With a little know how and some elbow grease, you'll find it isn't very difficult.
-
Remove the seats. Turn the chair upside down and use a screw driver to separate the seat from the chair frame and chair back.
-
Take off the fabric. Use a staple remover or a flat head screw driver to pry off the staples or lift the tacks holding the upholstery to the seat. Remove the fabric and stuffing.
-
Cut the new stuffing. Measure the chair seat and cut the foam or cotton stuffing so that it is one quarter inch larger than the seat all the way around.
-
Stuff the seat. Put the stuffing on the top side of the seat. Cover the seat with the fabric and turn the seat over so that you are looking at the underside.
-
Upholster the seat. Pull on the fabric to keep it taunt and staple or tack it to the chair frame, folding the corners tightly as you go, as if you were wrapping a gift.
-
Attach the seat. Flip the seat over and place it on the chair frame with the fabric side up. Use a screw driver to fasten it to the chair frame and back. Be sure to line up the screw holes and turn the screws as tightly as possible.
References
Tips
- You can use a combination of foam and cotton to stuff the chair seat but try to keep it around an inch thick.
- If you are replacing the seat cover, be sure to buy upholstery fabric for best results.
- If you intend to replace the seat cover as well as the stuffing, use the fabric you removed as a template for measuring the new material.
Writer Bio
Jan Czech has been writing professionally since 1993. Czech has published seven children's books, including “The Coffee Can Kid," which received a starred review from School Library Journal. She is a certified English/language arts teacher and holds a Bachelor of Arts in education from Niagara University.
Photo Credits
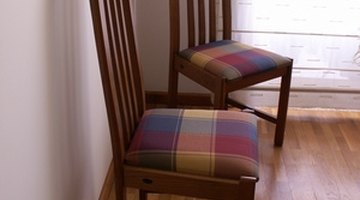
- chairs image by Jorge Casais from Fotolia.com
More Articles