Word 2013 gives you the ability to select any image as the background for a document by using the Fill Effects option. Images are automatically tiled to fit the screen based on the image size. When you zoom in to a document, the image is tiled less. When you zoom out, even a large image is tiled. If you don't like the amount of tiling your image produces, use an app like Microsoft Paint to quickly resize your image. Better yet, you can create your own tiled image and use it as your document's background
Step 1
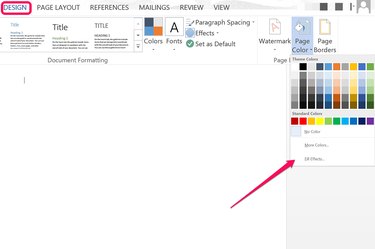
Open a Word document and click the "Design" menu. Click the "Page Color" icon and select "Fill Effects." This opens the Fill Effects window.
Video of the Day
Step 2
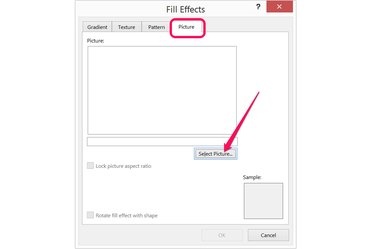
Click the "Picture" tab in the Fill Effects window. Click the "Select Picture" button and then choose whether to upload an image from your computer or search for an image using Bing. Select a small image that you want tiled and click "Insert."
Step 3
Click "OK" as soon as the image appears in the preview pane. The image is automatically tiled across the page. Drag the "Zoom" slider to the right to increase the number of times the image is tiled. To decrease the amount of tiling, drag the "Zoom" slider to the left.
Step 4
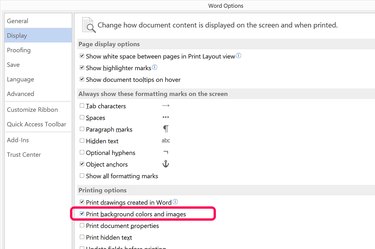
Click the "File" menu and select "Options" if you want the tiled background to be included when the document is printed. Select "Display" and then click the "Print Background Colors and Images" check box. Click "OK." Unfortunately, you cannot see how the image will be tiled on paper until you actually print it -- if you zoom in and out of the Print Preview window, the tiling changes just as it does when you zoom in and out of Word's main window.
Video of the Day
Reducing Image Size to Get More Tiling
Step 1
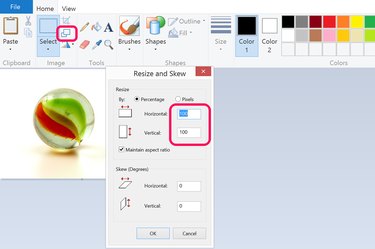
Open the image you want to use as a background in any image editing app. In Microsoft Paint, which comes installed with Windows, just click the "Scale" button and reduce the horizontal and vertical size from 100 percent to anything you wish. To get twice the tiles, for example, reduce the size to 50 percent. To get four times the tiles, reduce the size to 25 percent.
Step 2
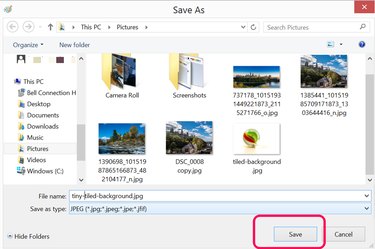
Select "Save As" from the File menu and save the smaller picture with a new file name. Reducing the image size substantially reduces its resolution, so it's important that you don't overwrite your original file.
Step 3

Click the "Design" menu in Word, click the "Page Color" icon and select "Fill Effects." Click the "Select Picture" button under the Picture tab, choose your new image and insert it as the document background.
Creating Your Own Tile
Step 1
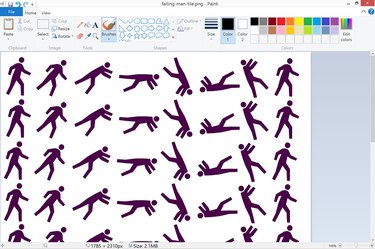
Open an image editing app like Microsoft Paint, create a new file and then paste in any images you want to use for the background of your Word document. Ensure the image you create is relatively large. A 927-by-1200 pixel image, for example, has the same aspect ratio as an 8.5-by-11 inch letter-sized page.
Step 2
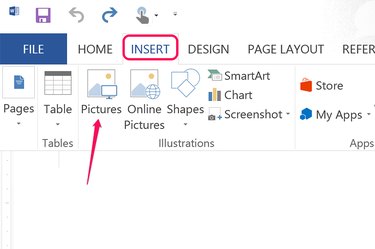
Open your Word document, click the "Insert" menu and then "Pictures." Navigate to your tiled background image and insert it into the document.
Step 3
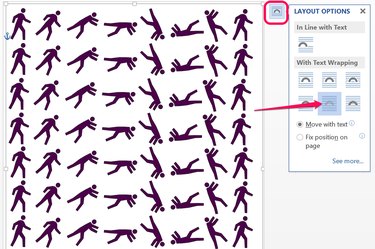
Drag the corner of the image to scale it until it fits the entire page. Click the "Layout Options" button that appears beside the image when it's selected and then click the "Behind Text" icon. Copy the image by right-clicking it, and then paste a copy onto each page of your document. This may be a bit of work if you have a lot of pages, but you won't have to worry about the tiling changing when you zoom in or out, or how the background look when you print it.