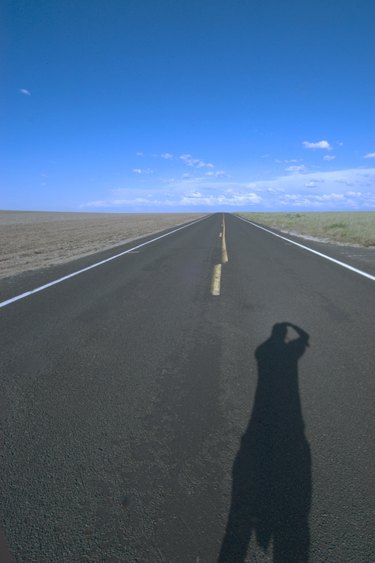
Photoshop can help you get rid of unwanted shadows that may otherwise ruin a good photo. The software allows you to make non-destructive changes to image files using adjustment layers and selection tools. By selecting and adjusting the shadowed parts of your photo, you can remove and blend these sections in with the rest of the photo. The results depend on the size and complexity of the shadow you want to remove, as well as the surface on which it is cast. The Content-Aware Fill feature is also useful for removing shadows.
Content-Aware Fill
Video of the Day
Step 1
Open the image with the shadow you want to remove in Photoshop, and then press "Ctrl-J" to create a new duplicate layer of the image so that you can edit it in a non-destructive manner.
Video of the Day
Step 2
Select the Magic Wand tool, and then click the shadow. Increase the tolerance value if not all of the shadow is selected; decrease the tolerance value if more than just the shadow is selected. Click the shadow again after adjusting the tolerance to make a new selection. Alternatively, use the Quick Select tool or Lasso tool to select the shadow.
Step 3
Click "Edit" from the menu bar, and then select "Fill." Alternatively, use the "Shift-F5" shortcut to display the Fill window.
Step 4
Select "Content-Aware" from the "Use" drop-down list, and then click "OK."
Step 5
Right-click the highlighted area and select "Deselect" from the context menu.
Adjustment Layers
Step 1
Open the image with the shadow you want to remove in Photoshop.
Step 2
Select the Magic Wand tool, and then click the shadow. Increase the tolerance value if not all of the shadow is selected; decrease the tolerance value if more than just the shadow is selected. Click the shadow again after adjusting the tolerance to make a new selection. Alternatively, use the Quick Select tool or Lasso tool to select the shadow.
Step 3
Click "Layer | New Adjustment Layer | Brightness/Contrast | OK."
Step 4
Click and drag the "Brightness" slider to the right to decrease the brightness of the shadow until it matches the rest of the picture; click and drag the contrast slider to the left in order to decrease the contrast between the shadow and the surrounding image.
Step 5
Create a new adjustment layer, and then adjust the hue and saturation if the brightness and contrast settings are not enough to match the shadowed area to the rest of the picture.