Things You'll Need
Leather cord
Focal bead, 14 mm
Scissors
Masking tape
Macrame is a popular method of creating bracelets and necklaces. The process involves tying a series of knots for the length of the jewelry piece, incorporating beads, shells and bone. Although many crafters use hemp or jute cords exclusively to make their macrame jewelry, it is possible to use other types of stringing materials, such as leather. To achieve the best effect, carefully match the beads and cords to the macrame design.
Step 1
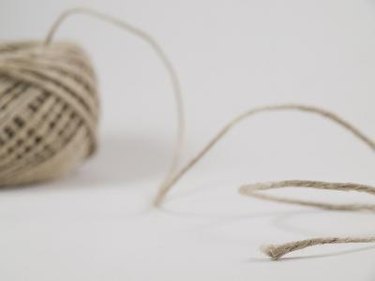
Cut a strand of leather cord about 72 inches long and fold it at one-third its length.
Video of the Day
Step 2
Tie a knot just below the fold to form a loop. The loop should be big enough for the large bead.
Step 3
Secure the loop to a table with masking tape.
Step 4
Pass the long strand of the leather cord over the short strand and then under the short strand. Pull the long strand through the loop between both strands. Pull tight.
Step 5
Pass the long strand under and then over the short strand. Take the long strand through the loop between both strands and pull tight.
Step 6
Repeat steps 4 and 5 until the bracelet is the right length for your wrist. According to Sherri Haab in "Beaded Macrame Jewelry: Stylish Designs, Exciting New Materials," the average bracelet is about 7 1/2 inches long.
Step 7
Pass the two loose strings of the macrame bracelet through the bead and secure it in place with two overhand knots. Trim the ends for a neat finish.
Video of the Day