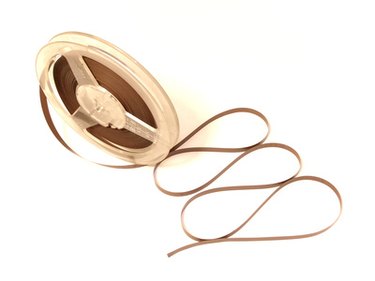
An old reel-to-reel tape deck with a pair of stereo output jacks can be connected to a computer or laptop for creating digital copies of the analog tapes on the reels. The connection takes a standard stereo cable and a Y-adapter that condenses the two stereo signals from the tape deck to a single stereo plug that can hook up to the recording jack on the PC or laptop. Many computers may already be installed with recording software. Apple's Garageband and Microsoft Plus! are popular software packages. Free software such as the Audacity program can be downloaded from the Internet.
Step 1
Connect the two plugs on one end of the stereo cable to the left and right audio output jacks on the reel-to-reel deck. The white plug connects to the left jack.
Video of the Day
Step 2
Hook up the plugs on the opposite end of the stereo cable to the jacks in the Y-adapter, then insert the Y-adapter plug into the computer's Line IN (record) jack, either on the back of the tower on a desktop or the edge of a laptop.
Step 3
Set up the reel with the tape to be dubbed on the left spindle of the reel-to-reel deck, thread the end of the tape through the tape heads in the lower center of the component and onto the take-up spool on the right spindle. The edge of the tape slips into a notch at the center of the reel.
Step 4
Click on the name or icon of the recording software to open the program on the computer.
Step 5
Turn the reel-to-reel control knob to "Play" or press the "Play" key if the deck uses piano-type key controls.
Step 6
Adjust the sound output control on the tape deck and check the level meters. The meter needles or LED lights should register a sound level around the middle range. This control can also be adjusted while recording to ensure the sound level is consistent.
Step 7
Stop the tape, rewind to the desired starting position, then play back the tape.
Step 8
Click the "Record" button on the computer software to begin copying the tape. Monitor the sound level and adjust if necessary while recording. Click the "Stop" button when finished.
Step 9
Click the "File" button on the software to open a drop-down menu. Select "Save As" from the menu, then type a name for the audio recording in the box that appears. Click the "Save" button to place the recording on the computer hard drive.
Video of the Day