Things You'll Need
12 pine cones
Paintbrush
School glue
Ground cinnamon
Wax paper
Large plastic zip bag
1 cup pine needles
1 cup dried orange peel
1 cup whole cloves
Cinnamon oil
Wooden spoon
Small baskets or tins
Potpourri is both decorative and fragrant and can be used in any room in your home. Ready-made potpourri can be purchased at craft stores but you can make your own potpourri, tailored to your preferences. Homemade pine cone potpourri is simple to make and a craft the entire family can enjoy together. In addition to using it to add fragrance to your own home, potpourri makes a simple homemade gift for last-minute gift-giving needs.
Step 1
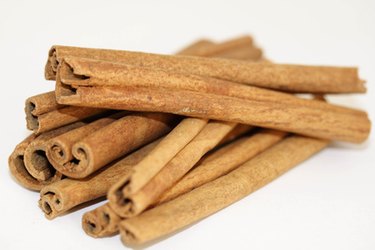
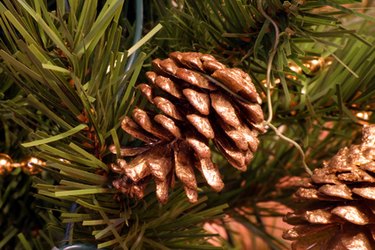
Brush school glue over 12 pine cones using a small paintbrush. Sprinkle ground cinnamon over the outside of the pine cones. Lay them on a piece of wax paper and allow the pine cones to dry overnight.
Video of the Day
Step 2
Place the dry, cinnamon-scented pine cones in the large plastic container. Add 1 cup each of the pine needles, dried orange peel and whole cloves. Make your own dried orange peel by dehydrating it in the microwave for three minutes on 50 percent power, then allowing it to air-dry for two days.
Step 3

Add four drops of cinnamon essential oil to the potpourri ingredients in the large plastic container. Stir all ingredients well with a wooden spoon. Cover the plastic container with a tight-fitting lid and let the spices and fragrances blend for two weeks.
Step 4
Place potpourri in small baskets or tins and set one container in each room where you'd like to add fragrance.
Tip
Use pine cones purchased at a craft store or collect your own outdoors.
Include children by allowing them to collect natural items outdoors to be used in the potpourri.
Substitute the fragrance of your choice for cinnamon. Use spices, essential oils or a combination of both to add fragrance.
Revitalize the fragrance in your potpourri by adding a few drops of your favorite essential oil.
Video of the Day