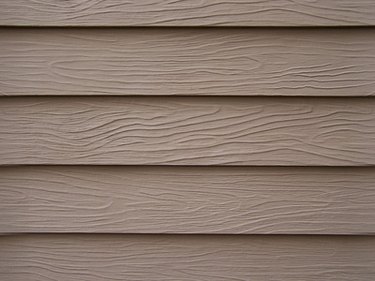
Vinyl siding offers homeowners ease of maintenance and allows them to avoid painting the exterior of the home every few years. Vinyl siding is installed with a channeling system in which the bottom of the first length of siding fits into an installed channel that holds the vinyl in place. The installer nails the top edge of the first length of vinyl into place, and the top edge contains a channel to secure the next length of vinyl. Installation progresses this way up the side of the house. Some adjustment may be needed to complete installation of the top row of siding.
Step 1
Measure the gap remaining at the top of the wall.
Video of the Day
Step 2
Mark the length of vinyl where the cut needs to be made to achieve the correct fit. You must leave the bottom edge of the vinyl intact so that it can be secured into the row of vinyl siding below it. Therefore, any cut in the height of the vinyl siding must be made from the top.
Step 3
Score the vinyl siding at the mark and break off the excess top by folding the vinyl along the score mark.
Step 4
Slot the vinyl siding into the lower siding and nail the top of the vinyl with 3D nails that match the color of the vinyl siding. Because you cut away the channels at the top of the molding, you must nail directly through the molding instead of placing the nails in the designated channels that you used in the rows below. Nailing without the benefit of the channels does not allow for expansion, so place the nails six to eight feet apart.
Video of the Day