
How to Remove Wires From an Electrical Outlet

Electrical outlets do not feature any moving parts, which makes them particularly durable. However, the electrical contacts within the outlet will wear out given enough time. Excessive wear will result in an outlet that works intermittently. In extreme cases, the outlet will not work at all.
Things You Will Need
- Flathead screwdriver
- Voltage sensor
- Phillips head screwdriver
Outlets can sometimes be repaired, but it is often more economically practical to simple replace the outlet with a new one. Whether repairing or replacing an electrical outlet, the outlet’s wiring must first be disconnected.
-
Turn off the power to the structure at the main service panel.
-
Remove the screw located at the center of the outlet’s faceplate with a flathead screwdriver.
-
Pull the outlet’s faceplate off of the wall.
-
Ensure that the outlet is not receiving electrical current by testing the outlet with a voltage sensor. Not all voltage sensors are used the same way. It is therefore of the utmost importance to follow the manufacturer’s instructions closely to avoid the risk of an electrical shock when handling the outlet.
-
Remove the two screws which secure the outlet within the wall with a flathead screwdriver. One screw is located at the top of the outlet, and one screw is located at the bottom of the outlet.
-
Pull the outlet out of the wall to access the outlet’s wires.
-
Loosen the screws which secures the wires to the sides of the outlet with a Phillips head screwdriver, then pull the wires off the outlet.
References
- "Home Wiring and Plumbing"; Ten Pound Books; 2006
- "Home Repair and Improvement"; Creative Homeowner; 2006
Writer Bio
John Stevens has been a writer for various websites since 2008. He holds an Associate of Science in administration of justice from Riverside Community College, a Bachelor of Arts in criminal justice from California State University, San Bernardino, and a Juris Doctor from Whittier Law School. Stevens is a lawyer and licensed real-estate broker.
Photo Credits
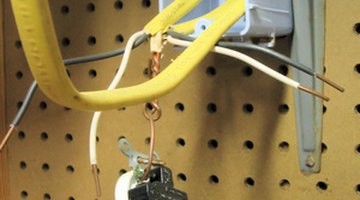
- electric outlet 2 image by Dawn Williams from Fotolia.com
- electric outlet 2 image by Dawn Williams from Fotolia.com
More Articles