Celebrating 75 year with a party is a great way to commemorate this huge milestone. Sending favors home with guests is a nice way to thank them for attending. Tailor the favors to the theme, or to the personality of the honoree, and add personalization to make the favor a keepsake memento.
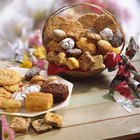
Candy Bar
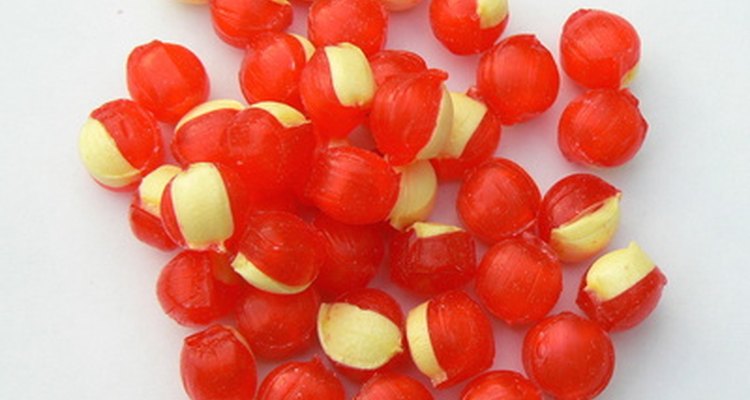
A candy bar is a yummy do-it-yourself favor station for guests to create their own goody bags. Candy bars are generally decorative, inexpensive and well received by guests. Set out candy in decorative bowls and jars. Rock candy sticks make an especially aesthetically pleasing option. If possible, use nostalgic treats from your honoree's childhood for a sweet historical favor idea. Provide guests with cellophane bags and twist ties so they can take candy home to enjoy. Choose colored candies that will go with the color scheme of the party.
Photo Booth
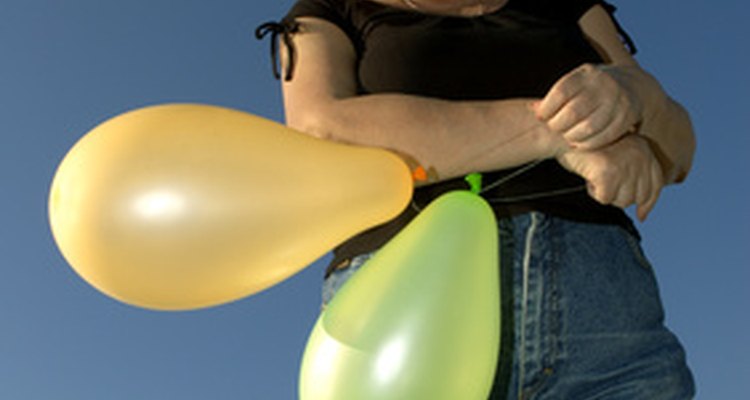
Consider renting a photo booth for the 75th birthday party as a special favor idea and an enjoyable activity for guests. Many party rental places offer an old-school photo booth for rent complete with paper and printing ink. Guests will visit the booth and take goofy photos that will print immediately to take home as a memento. Customize the photo paper with the date and details of the event written across the bottom of each picture.
Theme Favors
Use the interests of the honoree as your guide to create a special party favor for guests.
If your honoree is a gardener, purchase mini terracotta pots from a garden store and fill them with a small herb or flower for guests to take home and enjoy.
Make custom golf-balls printed with the honoree's birth date and photo. Package with a couple of tees in a small bag for favors at a golf-lover's birthday party.
If the honoree is a nature lover or bird watcher, fill small woven nests with Jordan almonds that resemble bird eggs for a sweet and clever treat.
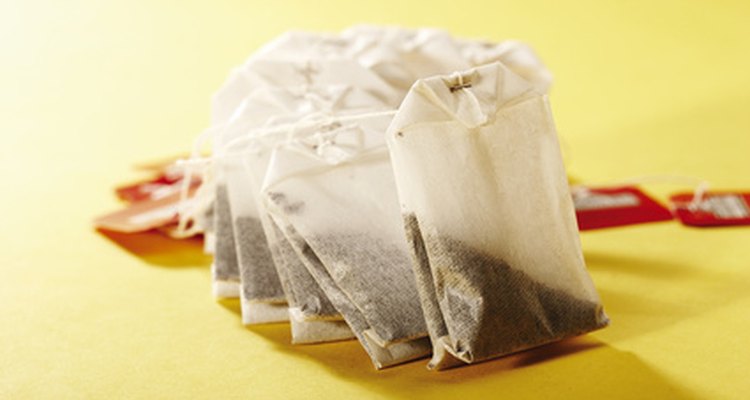
To pay homage to a tea or coffee drinker, favor guests with a tea sampler in a decorative package or a specialty bag of gourmet coffee.
Related Articles

Family Reunion Gifts & Awards

Unique Ways to Present a Birthday Gift

Ideas for Competition Gifts

Five-Year-Old Birthday Party Ideas for ...
Ideas for Sending a Husband a Gift at ...

Ideas for Honoring a 70-Year-Old ...

Cheap Party Favor Ideas for Girls' ...
Cheap Class Reunion Gifts
Gift Ideas for a Neighbor's Birthday
Places to Have Sweet 16 Parties in ...
Grammy's Themed Party Ideas

Retired Firefighter Party Ideas

How to Make a Memory Book for a Gift

Cute Ways to Give Your Boyfriend a Gift

What Do I Purchase for My Uncle and ...

Ideas for Muffins With Mom

How to Decorate a Restaurant for a ...

A Romantic Way to Invite Your Husband ...

How to Throw an Anime Party

What Kind of Present Do You Give When ...
References
Writer Bio
Traditional print newspaper is Jaime Smith's first love, though it may be a dieing art. Smith has been a freelance writer since 2000 for a variety of publications, including Helium, "The Bethel Bee" and "The News Times."
Photo Credits
on the birthday image by Alexey Klementiev from Fotolia.com