Having an outdoor outlet allows you to eliminate the need for excessive extension cords and dragging them around the yard. Adding an additional outlet to an existing outdoor junction box gives additional outlets for your outdoor power equipment or for lighting. Connecting electrical conduit from the existing outlet box, to a newly installed box, will have your electrical project complete in no time.
Step 1
Turn off the power to the existing outdoor outlet at the main service panel.
Video of the Day
Step 2
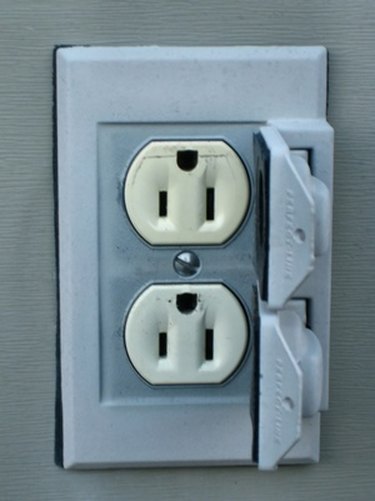
Loosen and remove the screws and cover plate over the existing outlet, using the screwdriver. Remove the screws holding the outlet in the junction box and pull it out, but leave the wiring attached. Remove one of the expansion plugs on the side of the box, which allows conduit to be connected to the box. The plug will be the size of the diameter of conduit and can be removed/unscrewed with the screwdriver.
Step 3
Measure 18 inches from the ground where the new junction box will be attached to the exterior wall and mark the measurement. Hold the junction box up to the wall and mark the location of each mounting hole. Drill a 1/4 inch pilot hole through each mark.
Step 4
Insert a screw through each mounting hole on the junction box and into the pilot holes and tighten them, securing the new junction box to the wall.
Step 5
Measure the distance between the existing box and the new one and cut conduit to fit, using the hacksaw. If you need to join more than one section of conduit to reach the distance, use the coupler. Slide one end of each piece of conduit into the coupler and tighten the screws to to secure the two pieces together.
Step 6
Slide a squeeze connector over each end of the conduit that will be connected to the junction boxes, and tighten the screws. Insert the threaded end of the connector into the expansion hole in the junction box and screw them together.
Step 7
Feed the electrical cable through the existing junction box, down the conduit and out the new junction box. Leave six inches of cable extending through the boxes and cut away any excess cable.
Step 8
Strip away four inches of the outer sheathing, then strip one inch of insulation off each insulated wire inside, at each end of the electrical cable.
Step 9
Attach the new GFI outlet to the wiring at the new junction box. Attach the black wire to the brass screw, the white wire to the silver screw, and the bare/green wire to the green screw. Insert a screw into the mounting holes on the outlet and screw them into the junction box. Place the cover plate over the outlet and attach it with the screws.
Step 10
Repeat step nine to attach the wiring to the existing outlet, followed by reattaching the outlet and cover plate to its box. Tighten all the screws.
Step 11
Turn the power back on at the main service panel and plug a light into the outlet to test.
Video of the Day