Motion sensor lights can be useful in many ways. For example, they can illuminate the path to the front door late at night when you have your hands too full to use a flashlight, they can warn you of intruders, and they can keep deer and other wildlife away. However, they can only do these things if they're properly adjusted.
If the sensor is too sensitive or its range is too wide, it will turn on the light for all sorts of unwanted reasons: a bird flies by, someone walks by the house on the sidewalk, or the wind rustles the leaves of a nearby tree. If the sensitivity or range is too low, it won't be much help to you when you need to find the steps to your door. Fortunately, it's easy to make the needed adjustments.
Video of the Day
Video of the Day
How a Motion Sensor Works
There are several motion sensor technologies, but the two most used around the home are passive infrared (PIR) and active ultrasound. Ultrasonic sensors send out a beam of high frequency sound waves, detect their reflection, and activate when they detect an anomaly in the reflections. They are most useful indoors and are more often used for alarm systems than lighting.
A PIR sensor has what appears to be an opaque screen in front of it, but the screen is transparent to infrared radiation. Passive infrared sensors detect changes in temperature caused by infrared radiation, and every living body emits infrared radiation. A PIR is more useful outdoors and is the kind most commonly found on motion-activated lighting.
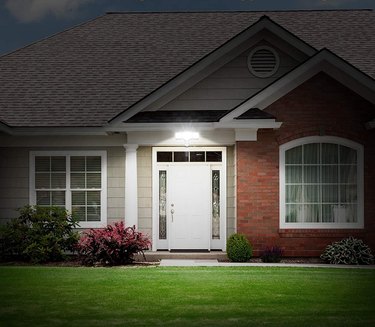
Mount the Light and Put It in Test Mode
To be most effective, a motion sensor light should be 6 to 10 feet above the ground. Once you've installed it, climb on a ladder and loosen the nut holding the sensor to the fixture and rotate it until it's more or less centered on the area you want to cover. Make sure it's an inch or two away from the lights because if it's too close, the lights will confuse it.
You're now ready to make adjustments, but before you do that, make sure the power is on, locate the test switch, and set it to "test." When in this mode, the light will stay on only for a few seconds when the sensor is triggered, which will allow you to set the range by walking in front of the light.
Adjust the Distance and Sensitivity
Adjust the distance by changing the angle of the sensor relative to the ground. Shorten the distance by pointing the sensor closer to the ground and lengthen it by pointing the sensor away from the ground. Choose the distance you want and walk in front of the light at that distance to make sure the light comes on. Then walk a little farther away and verify that it doesn't.
To adjust the lateral view of the sensor, use the "sensitivity" or "range" dial, turning it clockwise or counterclockwise as needed. At its most sensitive, the sensor can detect movement in a 180-degree radius, but the minimum range varies by model. If you just want to detect movement on the walkway in front of the house, you may have to put tape on the sides of the sensor to narrow its view. Once you've made all the adjustments you need, choose how long you want the light to stay on (one, five, or 20 minutes) and then move the test switch out of test mode.