Things You'll Need
Tape measure
Electronic stud finder
Low tack masking tape
Miter saw
Pencil
Power drill
Drill bit
Screwdriver
Wood glue
4d finish nails
Hammer
Nail set
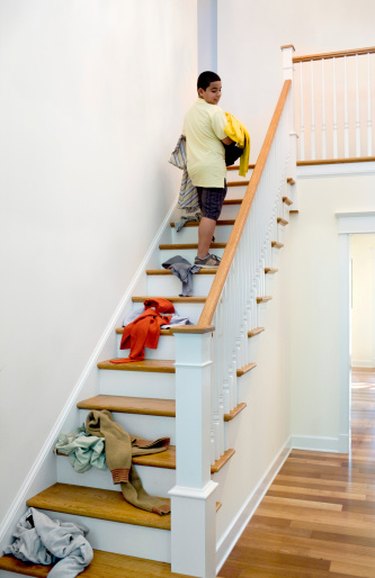
Installing a stair railing gives your staircase a new look, but also prevents falls and assists in climbing the stairs. They are installed along staircase walls to provide support in addition to the support of a staircase banister. Metal – including aluminum, wrought iron, steel and brass -- and wood are common materials for stair railings. Homeowners can purchase pre-cut and finished railings or they can cut and finish the rails to match their homes decor. Stair railings and hardware are available for purchase at most home improvement stores or lumberyards.
Step 1
Measure from the nosing of the top stair to the nosing of the bottom stair with a tape measure and add 2 feet. This method will give you the length of handrail material needed. Extend the rail past the top and bottom if possible to allow you to grasp the rail sooner and have better balance when climbing or descending the stairs.
Video of the Day
Step 2
Find the wall studs with an electronic stud finder; stair rails must be secured to the wood framing behind the wall material in order to support weight. Mark every stud with a strip of low tack adhesive masking tape.
Step 3
Measure 34 to 38 inches above the front edge of the top and bottom stair nosing and mark with a pencil. This measurement is the general height of stair railings; check the local building codes for stair rail height requirements in your area.
Step 4
Cut a 45-degree miter 3 inches from one end of the stair rail and rest the cut end on the floor at the bottom of the staircase; save the cut piece for later use. The angled cut faces in toward the wall. Extend the stair rail a few inches past the last stud at the bottom of the stairs so that you can add a handrail bracket under it.
Step 5
Mark the top of the handrail a few inches past the front edge nosing of the top stair. Cut a 45-degree miter on the marked end; the 45-degree cut should go in the opposite direction of the previous cut. Save the cut piece to use later.
Step 6
Align the top of the stair rail with the height mark. Have a second person hold the stair railing at the top and mark the underside of the handrail on the stud tape marks.
Step 7
Center a stair rail bracket on the stud closest to the top stair; align the top of the bracket with the mark from the underside of the rail. While holding the bracket in place, mark the wall through the bracket holes with a pencil.
Step 8
Pre-drill the stair rail bracket pilot holes with a power drill and drill bit; the drill bit size depends on the size of the bracket screws.
Step 9
Install the stair rail bracket. Drive the screws into the wall studs with a screwdriver; using a power drill will snap the screw heads off.
Step 10
Repeat steps 8 through 10 to install the bottom stair rail bracket and then the middle rail bracket. Mark and pre-drill the bracket pilot holes and drive the screws in with a screwdriver.
Step 11
Attach the handrail to the brackets with the U-shaped stair rail bracket hardware and look down the handrail to ensure the rail is straight.
Step 12
Install the intermediate brackets, if desired, repeating steps 8 through 10 and install the U-shaped rail bracket hardware to the stair rail. Intermediate brackets are optional, but provide additional support between the top, middle and bottom brackets.
Step 13
Measure the short returns on the ends of the stair rail, adding 1/16 inch to allow for rail flexing, and cut them on the miter saw. Measure from the long point of the 45-degree angle on the stair rail; the 45-degree angled cuts for the short returns need to match up with the 45-degree cuts on the ends of the rail so that the returns can connect from the rail toward the wall.
Step 14
Attach the short returns to the top and bottom of the stair well with wood glue and 4d finish nails. Drive the nails in with a trim hammer tapping softly to avoid damaging the rail, recess the nail heads with a nail set; pre-drilling 1/16-inch holes in both pieces may make it easier to drive the nails.
Tip
Metal stair railings are purchased to fit the length of the stairs and do not require cutting like wood railings. They install with brackets in the same way.
Video of the Day