Things You'll Need
Stud finder
Pencil
Measuring tape
2 x 2-inch pieces of lumber
Saw
Spirit level
Skill saw
4 x 8-feet backer board
4-inch drywall screws
Carbide blade
Circular saw
Electric drill
Drywall screws
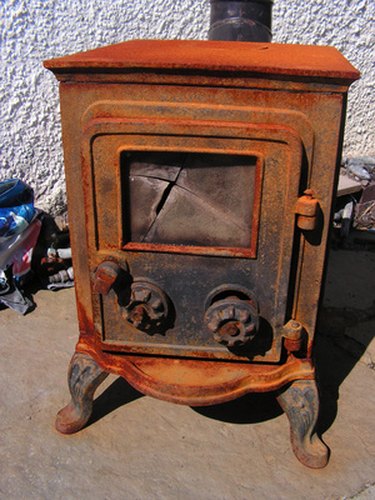
Backer board is a heat shield that is found behind wood-burning stoves. A heat shield is necessary to protect the walls from damages due to constant use of the stove and to protect your home from possible fires. Modern wood stoves can be installed closer to the wall because of backer boards. You can enjoy a stove in a smaller space, but more safety precautions on the stove does not mean that you can skimp on protecting the area behind and around it.
Step 1
Find the studs in the wall behind the place where the stove will sit. Use a stud finder to locate the studs and mark the locations with a pencil.
Video of the Day
Step 2
Measure the height and the width of each wall that sits next to or behind the wood stove with a measuring tape. These calculations will help you decide how wide each backer board must be.
Step 3
Cut 2 x 2-inch pieces of lumber with a saw to match the dimensions of the wall.
Step 4
Drill pilot holes through the lumber posts. The holes should be 12 inches apart. Fit the drill with a bit slightly smaller than the diameter of the screws to provide a better grip.
Step 5
Nail the posts on the drywall, directly to the wall studs using drywall screws. Countersink the screw heads into the posts at least 1/4 inch.
Step 6
Mark on the backer board the measurement of how wide you want the heat shield to be. Do one wall at a time, and mark the line all the across the board. Use the spirit level to check that the lines are straight before cutting the backer board.
Step 7
Cut the backer board to size using a skill saw with a carbide blade. Do not try to cut the board with a wood cutting blade because it will dull quickly and leave a rough edge on the board.
Step 8
Screw the backer board directly to the posts that you've nailed to the wall. Use backer board screws. The screws should be 6 inches apart.
Step 9
Cut each board width to make seams land directly over one of the stud-covering posts. Attach it to the wall by drilling in four drywall screws at every 12 inches, beginning from the floor.
Step 10
Cover the backer board shield with a fire-proof, decorative material of your choice. How you will attach the material onto the board will depend on what material you will use.
Warning
Keep anything that can burn at least three feet away from heating equipment, such as the furnace, fireplace, wood stove or portable heater.
Video of the Day