If you like to do your own wiring and have a basic knowledge of residential electrical circuits, you'll have an easy time connecting a wall light fixture to an existing wall or ceiling fixture. The procedure involves daisy chain wiring. It's a common misconception that this is the same as wiring lights in series, but it's actually wiring them in parallel. Basically, parallel wiring splits the electricity into multiple paths and guarantees that if the bulb in one fixture burns out, the other will stay on. It's not important to think too much about parallel versus series wiring when adding a light to a circuit, though. All you have to remember is that you have to create pigtails at the existing fixture to split the electrical path in two, and that's pretty easy to do.
How to Make a Pigtail
Video of the Day
You make a pigtail whenever you splice three or more wires together at the same connection point. When you're doing daisy chain wiring on a light fixture, each pigtail usually contains three wires, but there could be more if you're adding more than one extra light. If you're just adding one, the wires in the pigtail include the live circuit wire, the wire going to the new fixture and the wire from the existing fixture.
Video of the Day
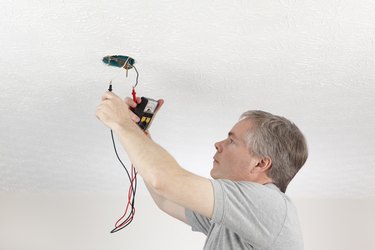
Before creating the pigtail – or doing any electrical wiring in general – it's important to make sure the electricity is off. Turn off the breaker controlling the existing fixture. Test the wire leads with a voltage tester to make sure they're dead before touching them with your fingers or with tools.
You need at least an inch of bare wire on the end of each wire that you can connect in a pigtail. The easiest way to remove insulation is to strip it off using a wire stripper. Hold the wires parallel so the exposed ends are next to each other, twist them together clockwise with pliers and screw on a wire cap large enough to hold them. You don't always have to twist the wires with pliers, but it's good insurance against a loose connection. Wire caps have clockwise threads, so when you twist the wires clockwise with your pliers, the cap will tighten them together.
Adding a Light to a Circuit
An end-of-run fixture is one that goes after the existing fixture in the circuit. Choose a place for the fixture, install an electrical box and run a cable between the new fixture and the existing one. Make sure the cable you use is the same gauge as the one powering the existing fixture. Connect the new cable to the new fixture by twisting the black wire from the cable to the black wire on the fixture and white cable wire to the white wire on the fixture. Screw a wire cap onto each connection. Connect the ground wire either by twisting it to the ground wire on the fixture or attaching it to a ground screw. You don't need to cap ground wires.
To finish the job, return to the existing fixture and make a pigtail with the black wires from the circuit wire, the black wire going to the new fixture and the black wire from the existing fixture. Do the same with the white wires, then do it once more with the ground wires. If the existing fixture has a ground screw, twist the ground wires from the incoming and outgoing cables together and leave the end of one the ground wires longer so you can connect it to the ground screw.
Adding a Light Fixture Mid-Circuit
You can usually install a light fixture between an existing one and the switch by cutting the cable to the existing fixture at the location of the new one, inserting the ends of the cable into the electrical box for the new fixture and pigtailing the new fixture onto these wires. If the cable is too short, you may have to splice on a short length of extra wire. The splice connections must be inside a separate covered electric box attached to the framing. The code requires the box to be in an accessible location so you can get to the wires if needed.