New curtains can freshen up windows and change the look of a room. But first, you need securely installed curtain rods at the correct height to hold your new drapes. Hanging curtain rods isn't challenging, but it requires precision and placement knowledge.
Consider the Curtains
Curtain rod placement depends largely on the length of the curtains. You want the curtains to either barely touch the floor or pool just a little. You may also want curtains that hit just below the window sill.
Video of the Day
Video of the Day
The header type on the curtain is also a factor. If you're using curtains with rings, hooks or tabs, they'll hang lower than the rod. If you place the curtain rod at the top of the window casing, the curtains may not completely cover the top of the window. The tops of grommet or pocket header curtains are even with the rod.
Curtain Rod Placement Height
Curtain rods typically hang 4 to 6 inches above the window frame. Another often used recommendation is hanging curtain rods halfway between the ceiling and the top of the window frame. This option doesn't work if you have extra high ceilings or if there's a large space between your window casing and the ceiling. Installing the rod too high above the window can look awkward.
If you have low ceilings, you can give the illusion of a taller room by raising the rod higher so it's closer to the ceiling. This is another situation where you should use your best judgment when choosing a height that looks good. It's usually best to install the curtain rod no more than 8 inches above the top edge of the window.
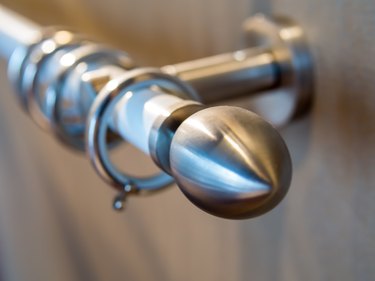
Curtain Rod Width
You can also change the look by adjusting the width of the curtain rod. Extend the rod at least 1 to 3 inches beyond the edges of the window trim for full coverage. If you want the windows to appear wider, you can extend the curtain rod by as much as 10 inches beyond the outer trim. A wider mount also makes it easier to fully open the curtains for more sunlight.
Not sure where to place the curtain rod? Grab some helpers and do a test run. Slide the curtains on the rod and have someone hold each end up to the window. You can have them raise or lower the rod and adjust the width to see what looks best.
Mark and Drill Initial Holes
Use your desired rod placement to mark the holes for the brackets. Use a tape measure and level to get these marks exact on both sides. Longer curtain rods may also have a center bracket that you'll need to measure and mark.
Measure up from the top of the window frame and over from the outside edge to get your exact placement. Use a pencil to mark the location of the screw holes. Repeat the process on the other side of the window, using the exact measurements up and over from the outside of the window frame. Make sure the marks line up so the curtain rod is straight and level. Use a power drill to predrill holes for the bracket screws.
Install the Curtain Rod Brackets
If the screw holes don't align with your wall studs, insert wall anchors to keep the brackets secure. Position the brackets on the wall, making sure they line up with the holes and anchors. Insert the screws into the holes and tighten them until the bracket is secure. It should be flush with the wall without any movement. Install the other brackets in the same way. Once you mount your brackets securely, slide the curtains onto the rod and hang the rod on the brackets.
Curtain lengths and the desired look come into play when hanging curtain rods. Play with the placement to find the best location for your room.