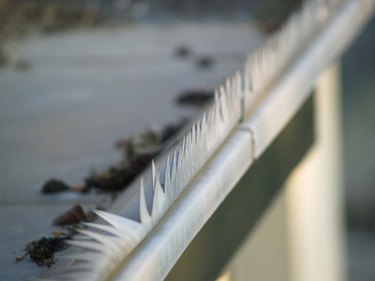
When installing new gutters or repairing old ones, an end cap must be placed at each terminal point to prevent water from flowing out from the unsealed end. This helps redirect runoff downward to a controlled outlet point during heavy rain. The process of installation is relatively simple, though getting close enough to your gutters to work on them can often be a challenge in and of itself.
Preparing Your Gutters
Video of the Day
Step 1
Set up your ladder on sturdy, level ground and make sure that you are able to reach your gutters safely. Locate the end of the gutter you wish to install an end cap on.
Video of the Day
Step 2
Determine your gutter material; if you are using vinyl, the process will be different than installing aluminum end caps.
Step 3
Remove old or broken end cap and clean the joint with a rag. If silicone caulk was used to install the old end cap, remove the remaining caulking it with a paint scraper.
Installing the End Cap
Step 1
Load your tube of silicone caulk into your caulking gun and tighten the plunger up against the back of the tube. Cut off the tip of the silicone caulk tube with a knife or sharp pair of scissors.
Step 2
If you are working with vinyl gutters, draw a thin bead of caulk around the rim of the inside of your vinyl gutter end cap. Place the end cap on the open end of the gutter and line up the edges with inside of the end cap. Press firmly on the end of the cap to snap it into place. Wipe away any additional caulk with a rag and allow the seal to dry for at least 24 hours.
Step 3
If you are working with aluminum gutters, place the end cap on the open end of the gutter and firmly press it into place. Place the edge of the gutter end cap between the jaws of your crimping tool and squeeze down hard to create a connection. Crimp the end cap three times on each side for a secure fit and seal the inside of the joint with silicone caulk.
Step 4
If you do not have access to a gutter crimping tool, or you wish to use a rounded end cap or other style of end cap, you may wish to use pop rivets to form the connection. For this method, place your 1/8-inch drill bit in your electric cordless drill and tighten the chuck. Place your aluminum end cap on the end of the gutter and firmly hold it in place. Bore two holes through either side of the gutter at the points of connection.
Step 5
Place the nail end of a pop rivet into the barrel of your rivet tool and slide the rivet shank through one of the 1/8-inch holes. Squeeze down on the rivet tool to tighten the rivet. When the rivet snaps and the nail end comes apart from the shank end, the rivet has been properly set. Put another pop rivet into the rivet tool and repeat the procedure with the other 1/8-inch hole.
Step 6
Seal the inside of the riveted joint with silicone caulk, including the area around the rivets, to ensure a watertight fit. Allow the seam to dry for at least 24 hours.