Things You'll Need
Paper
Scissors
Tape
Pen
Ruler or something to measure with
Are you bored and have some extra time on your hands? Or do you need to entertain someone for a spell? Well, here is a simple craft project that you can do that will entertain you and your friends. Plus, you get that warm feeling inside from making something fun!
Step 1
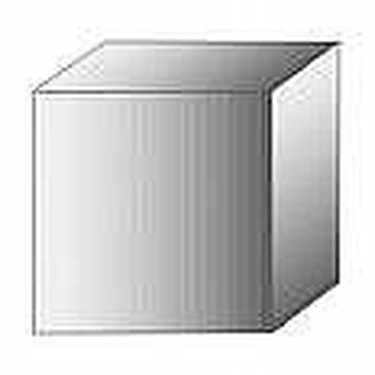
In this article you will learn the simple art of making a cube or dice. It is fairly easy and yet is fun to have when you are done. Plus, you can use it to replace dice you have lost, though they won't be nearly as good.
Video of the Day
Step 2

First thing that you do is you get a piece of paper. Take your ruler and measure out the following design: <---- <---- <----
Step 3
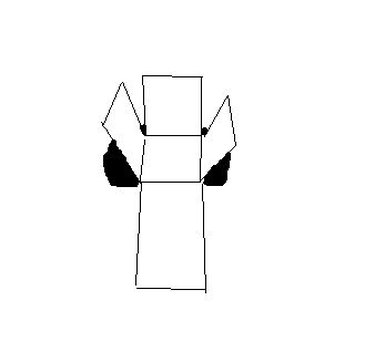
Once you have this design cut out you can continue making the cube. Take the three 1 inch sides and fold them at 90° angle, straigh up. Now you have 3 sides bent up. Take some tape and wrap tape these sides up by taping each sides end up. Once this is done you can move on to the finishing touch.
Step 4
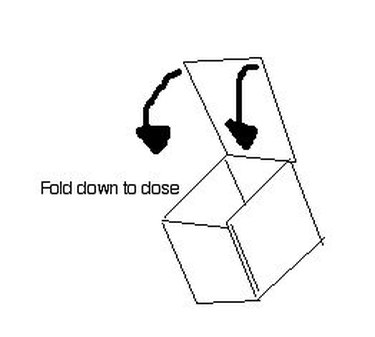
Take the 2 inch long piece and bend it up until one inch of it is level with the top of the other 3 sides. Then bend that top piece down. Tape it all up and you should have a box. See photos for help.
Tip
Have fun, this project is for people 4 and up.
Warning
Don't cut yourself with the scissors. DO NOT GET A PAPERCUT!!!!! THEY ARE VERY PAINFUL!!!!!
Video of the Day