
The glowing skin you see in magazine photographs is not just thanks to the studio-quality lighting -- rather, it's the result of a photo retouching process you can replicate yourself using a single layer with a filter applied in Photoshop CC. Optionally, you can mask the layer to apply the effect only to parts of the image; because the process darkens the skin somewhat, you may also want to brighten the resulting image after you're done.
Adding the Skin Glow Effect
Video of the Day
Step 1
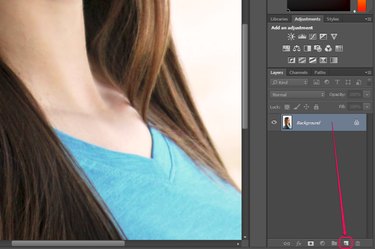
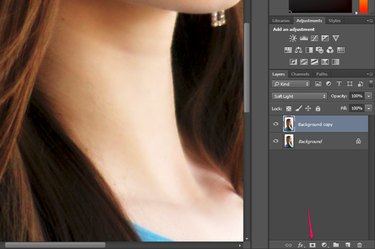
Open your image in Photoshop. In the Layers pane, drag the "Background" layer to the "New Layer" button to duplicate it.
Video of the Day
Step 2
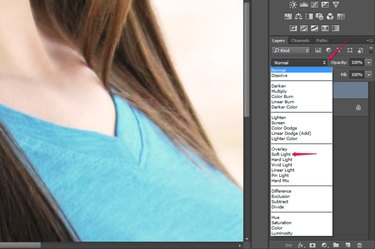
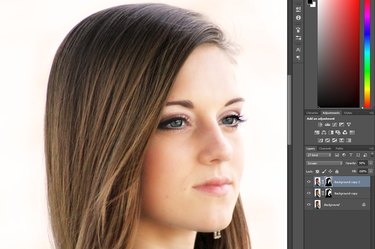
Set the newly-created layer's blending mode to "Soft Light" using the drop-down menu in the Layers pane.
Step 3
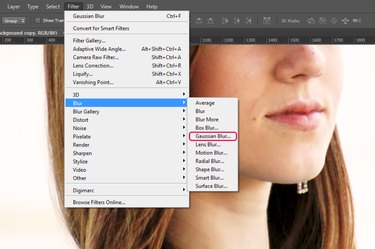
Click "Filter," hover over "Blur" and select "Gaussian Blur."
Step 4
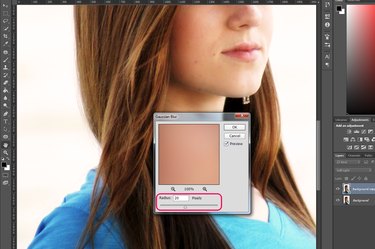
Ensure the "Preview" check box is enabled so you can see the effect the tool has on your image. Blurring this layer softens the lines in the image, giving the illusion of glowing skin; the effect varies depending on the amount of blurring. There is no value that will work with all images, so adjust the "Radius" slider until you find a result you like and then click "OK." If you are satisfied with the overall look of your image, you can stop here.
Removing the Glow From Parts of the Image
Step 1
Click the "Add Layer Mask" button in the Layers pane. Doing this automatically sets your foreground and background colors to black and white, respectively.
Step 2
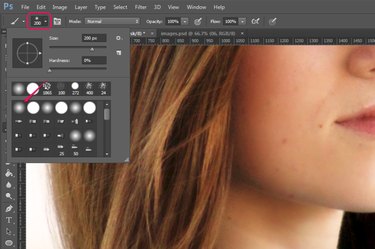
Press "B" to switch to the Brush tool and select the "Soft Brush" preset using the drop-down menu in the Options bar.
Step 3
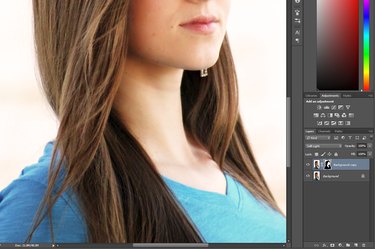
Paint on the layer mask with black to hide the parts of the layer corresponding to areas of the image from which you want to remove the glow effect. For example, you may want to do this for the hair, clothes or eyes of the person in the photo. Press "[" to decrease the size of the brush and "]" to increase it; press "X" to switch the foreground and background colors and paint on the layer mask with white if you accidentally hide a part of the layer you didn't mean to.
Brightening the Image
Step 1

Duplicate the layer and set the newly-created layer's blending mode to "Screen."
Step 2
Reduce the layer's opacity to a value that works for your image. For most images, this is simply a matter of experimenting until you find something that looks good. Once you've found that value, you're done.
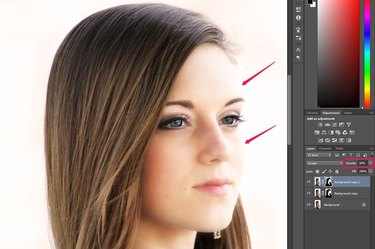
If your image has a lot of contrast between light and shadow, however, you may be unable to find an opacity value that makes the entire image look good. In this case, adjust the opacity until the shadowed, darker areas of the image look like you want them. You are now left with overly bright light areas in the image.
Step 3
Add a layer mask to the layer, if you skipped the second section and it doesn't have one already. Using a soft black brush, paint on the layer mask over the parts of the image that are too bright -- this hides the layer in those areas, effectively darkening them.