Things You'll Need
7 ounces worsted-weight yarn
Size-9 knitting needles
Yarn needle
Scissors
Leg warmers are a project for knitters of any skill level, from those who are just learning to those who are advanced. Knitting legwarmers on two straight needles is slightly different than knitting legwarmers on four double-pointed needles, which is the traditional method. Using two straight needles does not require the skill of knitting in the round. The main challenge with using two straight needles is making a seam.
Step 1
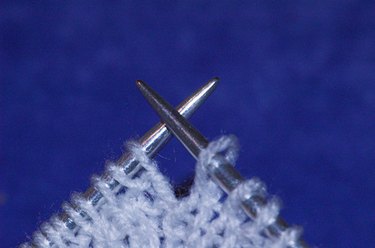
Cast on 46 stitches using the knitting needles. To cast on is to create the initial row of stitches you knit. Cast on by putting a slip knot on left knitting needle and pushing the right needle through that knot and behind the left needle. Wrap the yarn around the right needle’s tip and pull through the slip knot. This creates a new loop. Place the new loop on the left needle and repeat this step by placing the right needle through the new loop and behind the left needle. Repeat until you have 46 stitches on the left needle.
Video of the Day
Step 2
Work 10 rows of knit one, purl one ribbing. To knit one, purl one rib, knit the first stitch of the row and purl the second stitch. Repeat this to the end of the row. Repeat this row nine more times for a total of 10 rows of knit one, purl one ribbing.
To knit, insert the right needle through the last cast on stitch, placing it behind the left needle. Wrap the yarn around the tip of the right needle, and pull the right needle through the stitch, creating a new loop. Pull the old stitch off of the left needle, leaving the new stitch on the right needle.
To purl, insert the right needle from right to left through the next stitch, placing the right needle in front of the left needle. Wrap yarn around the right needle and pull through the stitch. Pull the old stitch off of the left needle, leaving the new stitch on the right needle.
Step 3
Work in stockinette stitch until the piece measure 12 inches from the beginning. Stockinette stitch is knitting on the right side (starting with row 11) and purling on the wrong side (starting with row 12).
Step 4
Knit 10 rows of knit one, purl one ribbing.
Step 5
Cast off. To cast off, knit two stitches and pass the first stitch over the second stitch, pulling it off the needle. Repeat until one stitch remains on the right needle.
Step 6
Cut the yarn with scissors, leaving 12-inch tail. Draw the yarn needle through the last stitch remaining on the right needle and pull tightly. Fold the leg warmer in half lengthwise with the right side facing itself. Use the yarn needle to sew a back seam.
Step 7
Repeat the entire process for the second leg warmer.
Tip
Be sure to follow all care instructions printed on the yarn's label.
Video of the Day