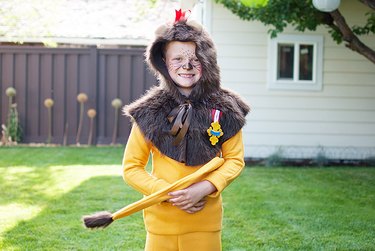
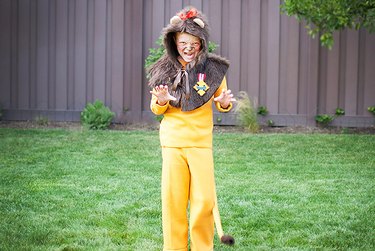
You don't need a lot of courage (or sewing skills) to make your own cowardly lion costume from The Wizard of Oz. Simply use a basic sweatsuit as the base and add key details with a custom-fit lion's mane and tail to complete the look.
Things You'll Need
Brown or tan faux fur, 1/2 yard
Tan fleece, 1/8 yard
Red ribbon, 20 inches
Hand-sewing needle
Thread in coordinating color
Brown ribbon, 24 inches
Scraps of wool felt (red, white, gold, and blue)
Safety pin
Hot glue gun
Glue sticks
Gold fleece, 1/8 yard
3/4-inch non-roll elastic (length of waist)
Brown face paint
Black or brown eyeliner
Sweatpants and sweatshirt (gold, brown, or yellow)
Make the Lion's Mane
Step 1
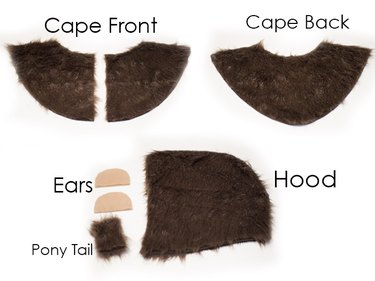
The mane is a simple hooded cape. To start, cut out the various pieces according to the costume-wearer's size:
Video of the Day
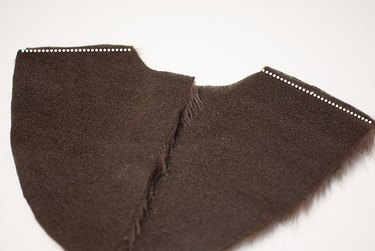
- Cape: from faux fur, cut one back and two front pieces for the cape, all with scoop necklines as shown. You also want all three pieces of the cape to curve at the bottom like a mane.
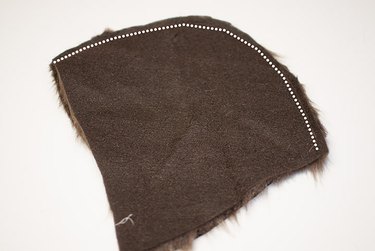
- Hood: cut two hood pieces from the faux fur in the shape shown. Make sure the hood piece is tall enough and wide enough for the costume-wearer's head.
- Ears: cut four curved ear pieces from the tan fleece.
- Tail: cut two ponytail pieces from the faux fur that are small 4-by-3-inch rectangles.
Tip
You can use the sweatshirt as your guide for cutting the cape neckline and shoulders. You want the cape to hang just past the shoulders and drop down in front and back like a mane.
Step 2
With the right sides together, sew the two ponytail pieces together along the sides and top, but leave the bottom open.
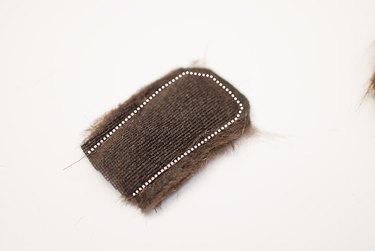
Step 3
Turn the ponytail piece right-side out. Then sew the ponytail piece to the top of the hood, placing it so the raw edges are 3 inches in from the top center front edge.
Step 4
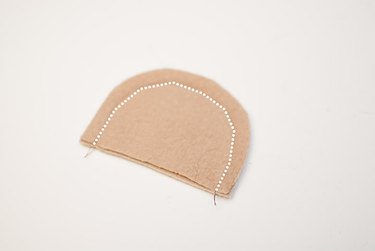
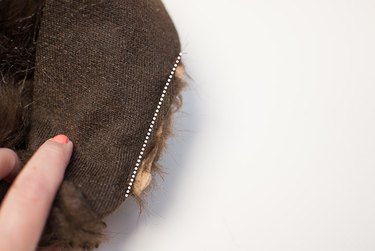
With the right sides together, sew the two hood pieces from the center front, around the curve, to the center back.
Step 5
Take two ear pieces and sew them right sides together. Then repeat with the other two ear pieces.
Step 6
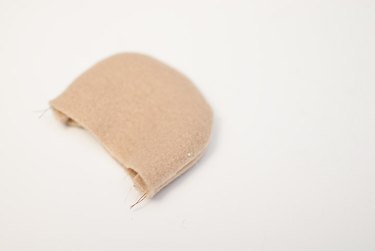
Turn the ear pieces right-side out.
Step 7
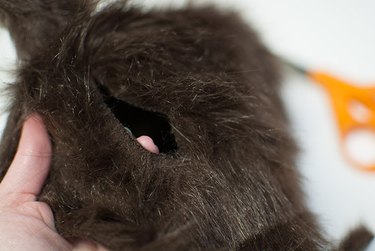
Cut a slit in the hood perpendicular to the center seam, even with the ponytail piece. You want the slit to be about 1 1/2 inches from the center seam and long enough to fit the ear. Then repeat on the other side of the center seam for the other ear.
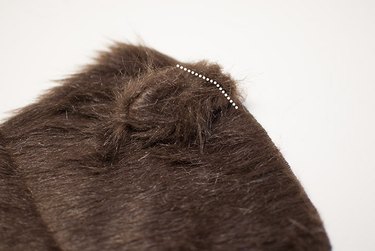
Step 8
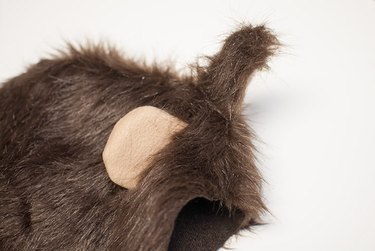
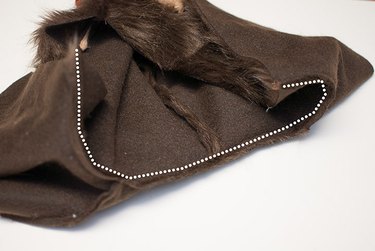
Place the ear into the slit so the bottom of the ear is just poking out on the inside of the hood. Then pinch the hood fabric and sew a dart to close the slit and secure the ear into place. Repeat with the other ear as well. You should have two ears sewn into place on either side of the hood, with the ponytail piece sticking up in the middle.
Step 9
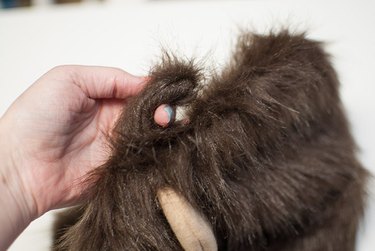
Fold the ponytail piece back and use a needle and thread to tack the end of the ponytail piece down to the hood to create a loop.
Step 10
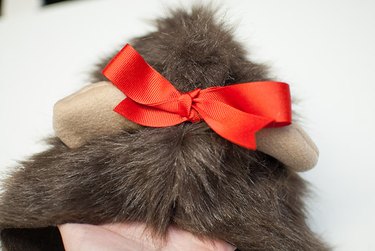
Tie the red ribbon to the ponytail loop.
Step 11
With the right sides together, sew the front and back cape pieces together at the shoulders.
Step 12
With the right sides together, sew the cape to the hood along the neckline. Be sure to match up the center back of the hood with the center back of the cape.
Step 13
Cut the brown ribbon in half so you have two 12-inch pieces. Then sew the pieces to both sides of the front of the cape, just below the neckline. This is how the cape will tie on when wearing it.

Make the Courage Pin
Step 1
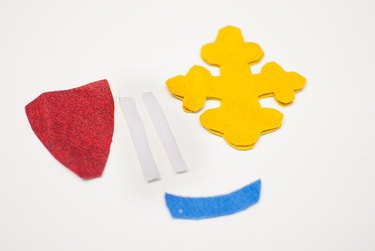
For the courage pin, cut your shapes (as pictured) out of wool felt.
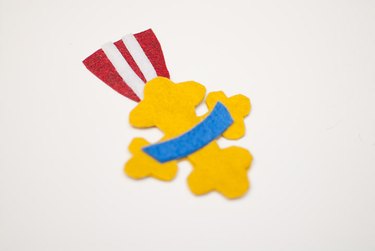
Step 2
Using a hot glue gun, glue all the pieces together to create the look of the medal.
Tip
For added detail, you could write "courage" across the blue just like the real medal.
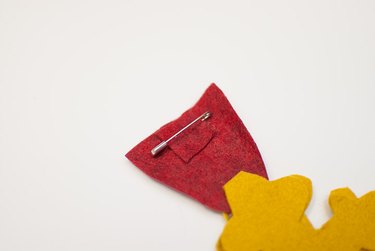
Step 3
Add the safety pin to the back of the medal by gluing a square piece of felt over the back to hold it in place.
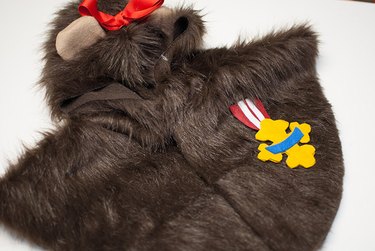
Step 4
Pin the medal in place on the front of the cape, and you are done with the lion's mane.
Sew the Tail
Step 1
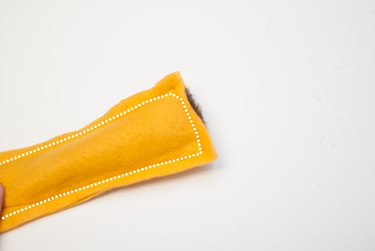
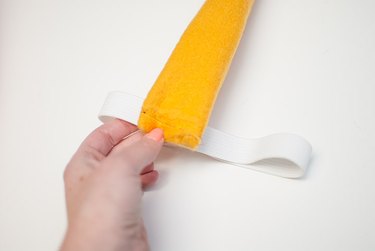
From gold fleece, cut two rectangles 4 inches wide and as long as you want the tail to be. Then with the right sides together, sew along the sides and top edge of the tail. When you are sewing the top edge, tuck a strip of the faux fur in place so it is toward the inside.
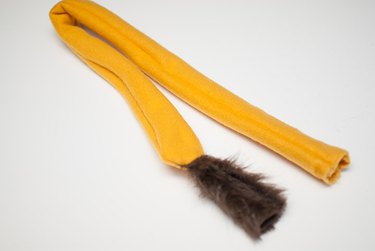
Step 2
Turn the tail right-side out.
Step 3
Cut the elastic so it fits the costume-wearer's waist, and then sew the ends together to create a loop.
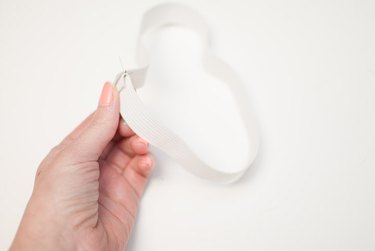
Step 4
Then sew the end of the tail to the elastic loop. The elastic will be worn around the waist with the tail dangling in the back.
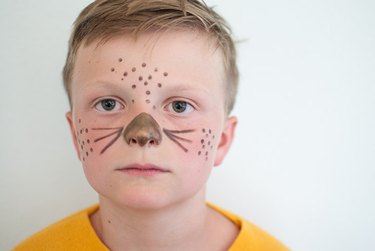
Paint a Lion's Face
For the makeup, paint the nose brown or gold using face paint. Then use a brown eyeliner pencil to draw on whiskers and add a few spots on the cheeks and forehead.
Add a pair of gold or yellow sweatpants and sweatshirt, and your cowardly lion costume is complete!
Video of the Day