Letter writing is becoming a lost art. So why not bring it back with a little flair? Use crayons and a glue gun to make an old fashioned wax seal for your letters.
Things You'll Need
Video of the Day

- Small glue gun
- Crayons
- Envelopes
Video of the Day
Step 1: Prep the Crayons
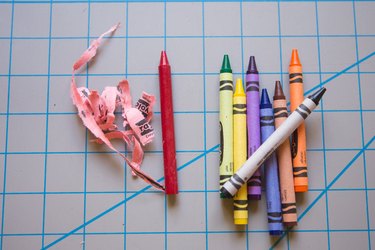
Peel the paper wrapping off the crayon. Prep all the crayons you think you are going to need.
Step 2: Place Crayon Into Glue Gun
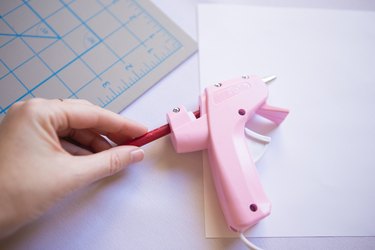
Use a new glue gun for this project that is dedicated strictly for crayons. A $5 one from your local craft store will work great but once you have used it for crayons it can't be used for hot glue.
Carefully start to seed the crayon into the glue gun. You will need to feed it in by hand with a little assistance with the trigger. Plug in the glue gun. You will know it is ready when the crayon starts to leak out on its own.
Note: This can get messy so put down some newspaper to keep splatters at a minimum.
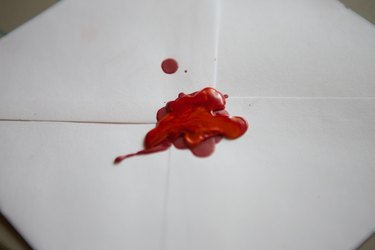
Step 3: Seal Envelope with Melted Crayon
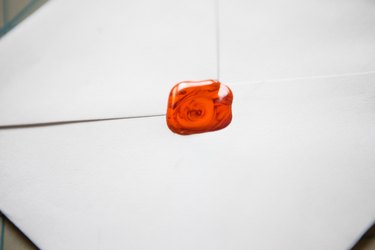
Carefully aim the gun over the back of the envelope you want to seal. For this project, an orange crayon was fed into the glue gun after a red one to achieve a swirl affect.
Let dry and harden before touching.