Carving produce is considered an art in the culinary world. A carved platter of fruits or vegetables can be used as a centerpiece display or even entered into competition for a monetary price. Though you may not be interested in competition, you can create carved fruit and vegetable displays for use at your own parties. Produce carving takes practice, so purchase additional pieces of fruits and vegetables in case you make a mistake.
Tools
To carve fruit and vegetables you will need a set of tools and materials specific to the art. Most of these tools can be found in a housewares store or a local culinary supply store. Some tools you will need are: a melon baller with a large and small scoop, wooden skewers, a paring knife, cookie cutters, food-grade washable marker, and a spoon.
Beginner Fruits and Vegetables
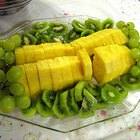
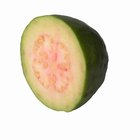
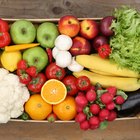
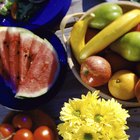
When starting out carving produce, you will want to work with fruits and vegetables that are the easiest to carve. For fruits, purchase cantaloupes, watermelons or honeydew melons for carving, and strawberries, grapes and blueberries for accent pieces. For vegetables, start with radishes, carrots and sweet potatoes.
Fruit Flowers
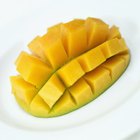
Fruit flowers can be created using different melons, grapes, raspberries and blueberries. Cut melons into flat pieces that are at least 1/2 inch thick. Use flower cookie cutters to cut melons into floral shapes. Place a melon flower on top of a wooden skewer and press the skewer through just enough to affix a grape, raspberry or blueberry on top as the flower's center. Use fruit flowers in vases, melon baskets or as a way to serve fruit on a fruit platter.
Outlining
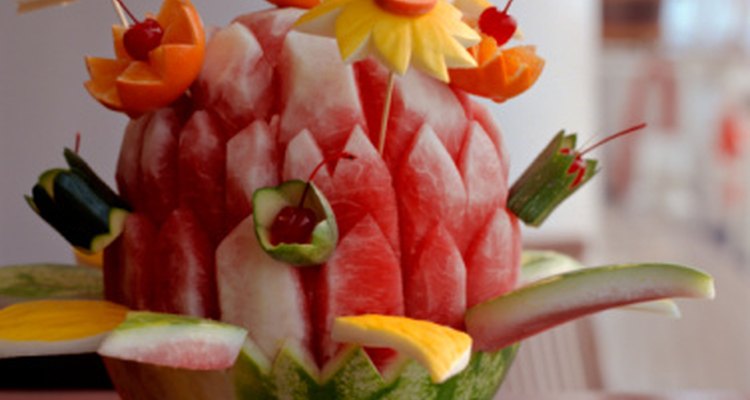
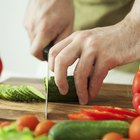
It is difficult to look at a piece of fruit and picture a design. Therefore starting with an outline is usually best for 3-D carved fruits and vegetables. Start by cutting off the back of a melon to give yourself a flat work surface. Peel the front of the melon to remove the rind and expose the fruit’s flesh. Purchase a stencil outline in simple patterns such as a large flower or a star at your local craft store. Place the stencil over the exposed fruit and use a washable food-grade marker to trace the outline of the stencil. Carve around the outline areas using a sharp paring knife and scoop out the cut flesh using a spoon. This will help you create 3-D images when you are just starting out. Slowly upgrade to more difficult stencils.
Preserving Carved Decorations
Use a cloth dipped in cold water to remove any outlines or debris on the fruit’s surface. Fill a spray bottle with lime juice, lemon juice, grapefruit juice or a combination of the three. Spray the exposed surface of the fruit and vegetables with the juice to help prevent them from oxidizing. Oxidation is what turns the surface of fruits and vegetables brown, and the acid in lemon juice helps prevent this.
Related Articles

How to Cut Fruits Beautifully
How to Freeze a Prickly Pear Cactus
Fruits or Vegetables Starting With X
How to Make a Fruit Tray for a Wedding
How to Peel Guava
Fancy Ways to Cut Fresh Vegetables
Ways to Use Candied Orange Peel
Fruits to Serve With Prosciutto
How to Preserve Mangoes
How to Eat a Kiwano Horned Melon

How to Garnish a Cake

Birthday Guest Book Ideas
Easy Peach Cobbler Recipe
How to Eat Fennel Raw
How to Juice a Daikon Radish
How to Wash Fresh Fruit With Peroxide
Why Are Fruits Important?
Candied Fruit for Baking

Baking Cakes With Frozen Fruit

How to Make a Teardrop Buckram Frame
References
Writer Bio
Shailynn Krow began writing professionally in 2002. She has contributed articles on food, weddings, travel, human resources/management and parenting to numerous online and offline publications. Krow holds a Bachelor of Science in psychology from the University of California, Los Angeles and an Associate of Science in pastry arts from the International Culinary Institute of America.
Photo Credits
Creatas Images/Creatas/Getty Images