Things You'll Need
Low-grit sandpaper (or hand sander with fine sanding pads)
Dust mask
Vacuum
Tack cloth
Plumb bob
Level
Tape measure
Pencil
Fine-toothed hacksaw
Drill with carbide bits
Solvent-based construction adhesive
Trowel
Laminate roller
Nylon drive rivets
Silicone caulk
Fiberglass-reinforced paneling (FRP) is a thermoplastic sheet reinforced with fine glass fibers for extra strength and durability. FRP provides a high level of protection for wall finishes, and features a scratch-resistant surface. It is both waterproof and easy-to-clean, making FRP a popular choice for bathrooms, kitchens, medical facilities and other sanitary applications. While FRP can be installed over almost any surface, some special preparations must be made when installing over impervious finishes, including ceramic tile.
Step 1
Sand the surface of the tile to remove the glossy finish. Use a fine-grit sandpaper or hand sander, and wear your dust mask while you work.
Video of the Day
Step 2
Vacuum all sanding dust, then wipe down the wall with a tack cloth to remove any remaining dust before proceeding.
Step 3
Mark the location for each FRP panel on the wall using a pencil. Use a level to check that horizontal lines are straight, or drop a plumb bob to check vertical alignment. Maintain a 1/4 inch expansion gap between the FRP panels and all surrounding surfaces or fixtures.
Step 4
Cut the panels to the correct size using a fine-toothed hacksaw. Hold the panel to the wall and use the pencil marks as a guide to confirm whether each panel is correctly sized. Adjust the size of each panel as needed to fit.
Step 5
Pre-drill holes in the FRP panels, unless these holes are already provided. Use a drill with a carbide bit to pre-drill holes every 16 inches both horizontally and vertically. Keep holes at least one inch away from the edges of the panels. When pre-drilling, use a bit that is 1/8 to 1/4 of an inch larger than the fasteners you plan to use.
Step 6
Hold the panels tightly to the wall at the location where they will be installed (or ask a friend to hold them for you). Pre-drill holes in the wall so they line up with the fastener holes in the FRP panels.
Step 7
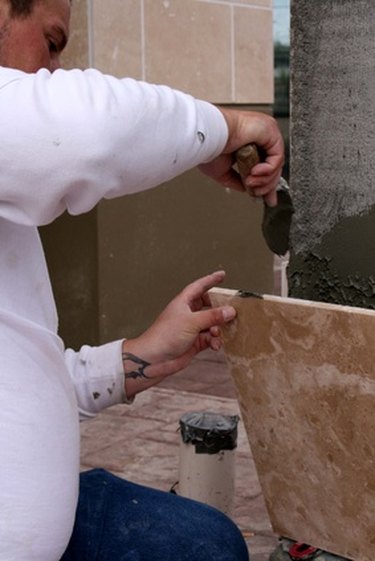
Move the panels off the wall and spread a solvent-based adhesive over the back of the panel using a trowel. Make sure the room is well-ventilated when working with solvent-based adhesives.
Step 8
Press the panel firmly to the wall, making sure that each edge is lined up with the applicable pencil marks. Roll the panels with a laminate roller to remove any bubbles.
Step 9
Install nylon drive rivets in each pre-drilled hole on the panels. Do not skip any holes.
Step 10
Caulk around the edges and/or seams of each panel using a clear silicone caulk.
Video of the Day