Things You'll Need
Computer
Word Processor
Printer
White Printer Paper
Scissors or Paper Cutter
Re positionable Glue
Ruler
Card Stock in Desired Color

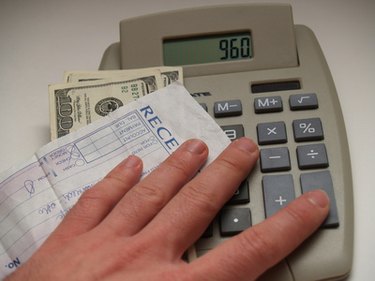
For an business owner keeping accurate records is a must. One of the most important elements to keep track of is the transactions which you conduct. In order to keep a thorough account of your transactions, providing and keeping up with your receipts is essential. While you can purchase receipt books at an office supply store, their generic nature may make it impossible for them to truly fit your business needs. Ensure your records are correctly kept by creating your own receipt books based on your specific business needs.
Instructions
Step 1
Design your receipt template. Determine what type of information you want to include on your receipt such as date, time, services provided, employee, amount, method of payment, etc.. In your word processor, click the insert tab on the top menu and insert a table. Based on the information you want to include, insert the necessary number of cells into your table. Add the name of your business to the top of your receipt template. Add the contact information for your business to the bottom of your receipt template.
Video of the Day
Step 2
Print a test copy of your receipt template onto the white printer paper. If you are happy with your test print, duplicate the template. Select the entire table and copy and paste the template, fitting as many templates on one page as possible.
Step 3
Print the desired number of receipt templates. A good size book should include between 50 and 100 receipt templates. Save your document for future use.
Step 4
Cut out each of the receipt templates individually with your scissors or paper cutter.
Step 5
Stack your receipt templates on top of one another, ensuring that the edges line up completely.
Step 6
Measure your stack of receipt templates. The length, width, and height, of your stack will determine the dimensions of the cover.
Step 7
Use the dimensions of the receipt stack to sketch out the size of your cover. The cover should be two sections that are the same width and length of the receipt stack connected by a section that is the same height of your receipt book. Draw a line on the card stock separating the sections from one another. Use your scissors or paper cutter to cut out your cover.
Step 8
Assemble your receipt stack. Apply a thin bead of re-positionable glue to the back side of each receipt along the top edge. Press the receipt down firmly on top of another receipt. Continue this receipt until you have finished assembling your receipt stack.
Step 9
Finish your receipt stack. Fold the cover along the section lines you have drawn to create a top, back, and bottom cover. Apply re-positionable glue to the thin section and press the receipt stack firmly down onto the glue. Allow your receipt book to fully dry before moving on.
Tip
If you are not savvy with word processor you can also download receipt book templates that you can customize to fit your needs.
Video of the Day