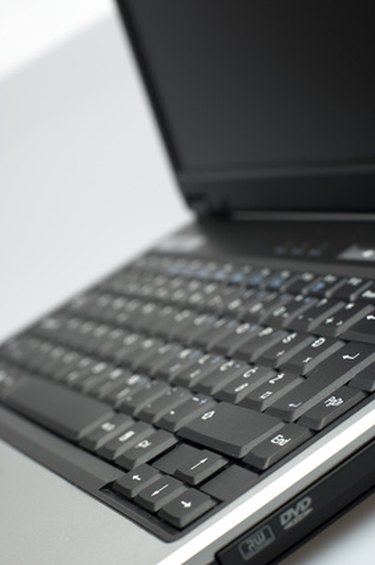
Some laptop computers have removable backs that allow access to components such as the hard drive, memory or battery. If your laptop does not have a release latch for the battery or has a separate removable panel to access the memory or hard drive, you may need to remove the entire back of the computer.
Step 1
Power down the laptop and disconnect the power cable and any peripheral connections.
Video of the Day
Step 2
Close the laptop lid and carefully place the laptop face down on a flat surface.
Step 3
Locate holding screws around the perimeter of the back of the laptop. Use the Philips head screwdriver to remove the screws. Note the location of each screw as you will need to replace them in the same order you removed them.
Step 4
Lift off the back of the laptop. Some models may have holding clips under the backing. You may need to slide the back around or lift it towards one edge of the laptop to release the clips.
Video of the Day