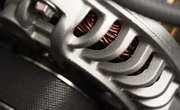
A lead-acid battery is a source of direct-current (DC) electricity. When the battery begins to lose its charge, it must be recharged with another DC source. An electric motor, though, is as an alternating-current (AC) source. For the electric motor to provide DC energy, its output has to pass through an electronic circuit called a rectifier. An electric motor can be used in conjunction with a source of mechanical energy and a rectifier to recharge a 12V battery.
- Brushless 12V DC electric motor
- One 12V battery
- Rectifier pack
- Adjustable wrench
- Two battery terminals
- Electrical wire
- Electrical pliers
- Soldering iron
- Electronic (rosin core) solder
Use this circuit in conjunction with an automatic source of mechanical power, such as an engine, to minimize battery charge time.
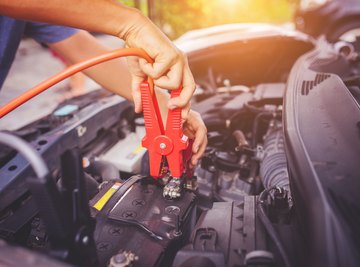
Cut four lengths of wire, and strip 1/2 inch of insulation from the ends of each wire. Using the wrench, loosen the top bolts on both battery terminal connectors.
Insert one end of the first wire into the space created by loosening the top bolts on the first battery terminal. Tighten the top bolts on the first battery terminal. Solder the wire to the terminal.
Insert one end of the second wire into the space created by loosening the top bolts on the second battery terminal. Tighten the top bolts on the second battery terminal. Solder the wire to the terminal.
Attach the free end of the first wire to the positive or "+" terminal on the rectifier pack, and solder the connection. Attach the free end of the second wire to the negative or "-" terminal on the rectifier pack, and solder the wire to the terminal.
Attach the battery terminal at the end of the first wire to the positive battery post. Attach the battery terminal at the end of the second wire to the negative battery post.
Attach one end of the third wire to one of the motor terminals, and solder the connection. Attach one end of the fourth wire to the remaining motor terminal, and solder the connection.
Attach the free end of the third wire to one of the "AC" terminals on the rectifier pack, and solder the connection. Attach the free end of the fourth wire to the other "AC" terminal on the rectifier pack. Turn the rotor shaft on the motor to charge the battery.
Things You'll Need
Tips
References
Tips
- Use this circuit in conjunction with an automatic source of mechanical power, such as an engine, to minimize battery charge time.
About the Author
David Sandoval holds a degree in microelectronics, and has several years of experience in the technology field. He has written articles for eHow, Answerbag, and wiseGEEK in the disciplines of chemistry, electronics, and physics.