Things You'll Need
Rubber band
2 paper towel tubes
Thumb tack
Tennis ball
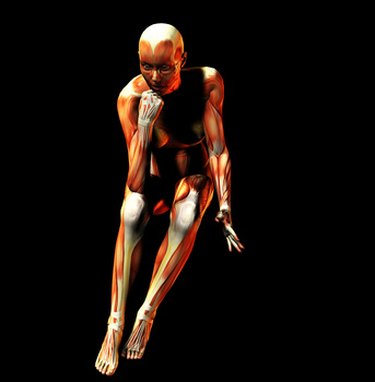
The human body is comprised of bones, tissues and muscles that enable the body to move in a wide range of motions. When studying the muscular system, it can be helpful to look upon a functioning model of a muscle, which can help you visualize how a muscle works. To make a working muscle model, it can be helpful to adhere to a series of steps that will ensure that the muscle model will move in a similar way as an actual muscle.
Step 1
Poke a hole into a paper towel tube about two inches from one end.
Video of the Day
Step 2
Cut a rubber band to make a long rubber band string.
Step 3
Insert one end of the rubber band into the hole, and knot it once it's through in order to secure it into place.
Step 4
Poke a hole in a second paper towel tube about two inches from one end.
Step 5
Insert the other end of the rubber band into the hole, and knot it once it's through in order to secure it into place. This will act as the arm muscle.
Step 6
Arrange the paper towel tubes end to end so that each hole is facing to the left. These will be the bones of the arm.
Step 7
Insert a tennis ball in between the tubes. This will be the elbow.
Step 8
Keeping the tubes on the tennis ball, move the tubes outward and inward to stretch out the rubber band muscle. This represents the movement of a muscle in a human arm.
Video of the Day