Things You'll Need
Washcloths
Basket
Ribbon
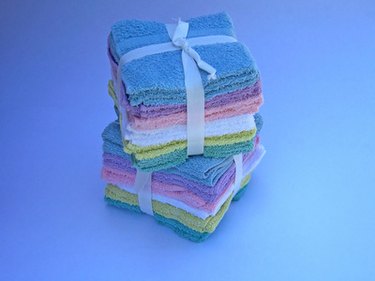
Folding washcloths into fancy shapes or decorations will impress guests who come to stay in your home. Create a basic fan shape or more intricate shapes such as the rose. Design the shape for your washcloth based on the atmosphere you want to give the room. Each shape requires only one washcloth. Simply display your washcloth on the counter or layer several together in an appealing basket.
Step 1
Create a rosebud from a red or pink washcloth. Lay the washcloth on a flat surface. Fold the washcloth in half by bringing the top edge down to the bottom edge. Fold the washcloth in half again in the same way. Roll up the washcloth from one end and move slightly upward in a diagonal motion while rolling. Place the rosebud on top of fake leaves or add additional rosebud washcloths around the first. Display it in the bathroom or in the guest room.
Video of the Day
Step 2
Create a rolled washcloth like those found in hotels by placing the washcloth on the table in a diamond shape and folding the top corner down to the center and the bottom corner up over the previous fold. Start with the left edge and fold it over slightly before rolling the washcloth up. The right edge will rest over the rolled up washcloth to form a point. Stack the rolled washcloths in a basket.
Step 3
Lay a washcloth flat on the table in a square shape in front of you. Create a fan shape by starting at the left edge of the washcloth and folding it over one inch. Grasp the fold and fold it under. Repeat this pattern until the entire washcloth is folded up. Tie a ribbon two inches up from the bottom of the washcloth and allow the top part to fan out.
Step 4
Fold a washcloth into a stacked set of triangles by first placing it on a flat surface and folding it in half. Turn the washcloth so the opening faces you. Fold it in half again from left to right. Take the bottom right corner, gripping only the first layer of material, and fold it upward and to the left. Repeat with each layer of material but as you fold each one, make the fold so that the corner stops below the layer before it. This creates a stacked, upside triangle effect. Tuck each side of the washcloth underneath at a diagonal angle to create a long diamond shape.
Video of the Day