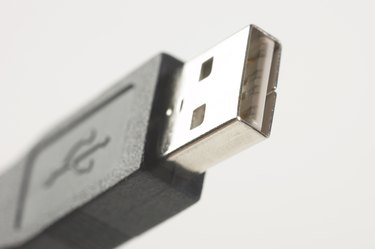
If you have an old floppy drive that you would like to use through your universal serial bus (USB) ports on your computer, you will need an appropriate adapter cable. These cables enable Serial ATA (SATA) or integrated drive electronics (IDE) devices to be accessed through USB ports. They can be obtained from many electronic components supply stores. An old floppy drive is likely to be an IDE device, so be sure the cable you purchase has an IDE adapter. Once you acquire the adapter, using your floppy drive through a USB port is a cinch.
Step 1
Locate the IDE end of your adapter cable and plug it into the back of the floppy drive. There will only be one slot where it will fit. The IDE adapter might come as a separate piece from the USB cable and might need to be connected.
Video of the Day
Step 2
Connect the appropriate end of the power cord that came with the adapter to the floppy drive. This cord is necessary because your old floppy drive was not designed to receive power via a USB connection. Again, there will be only one slot on the drive where the power cable will fit. Do not plug the other end of the cord into the wall outlet yet.
Step 3
Boot your computer and insert the USB end of the USB/IDE cord into one of its USB ports. Wait until your computer finishes booting.
Step 4
Plug the power cord attached to the floppy drive into the wall and the device will power up. It should only take your computer a few moments to recognize the connected drive.
Video of the Day