Living in a small space and finding ample storage can be challenging. Using vacuum sealer bags to store excess bedding and comforters is a tried and true space saving solution. You can easily make your own vacuum sealer bags for storage to save space and money at the same time.
Step 1
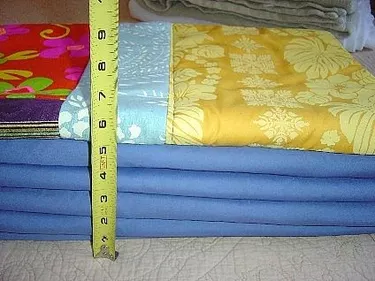
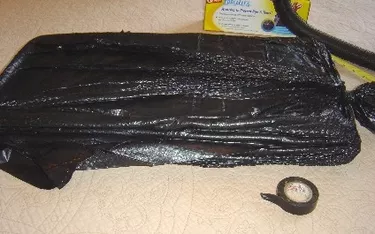
Assemble the materials listed to make the vacuum sealer bags. Gather all the bulky items to be stored.
Video of the Day
Step 2
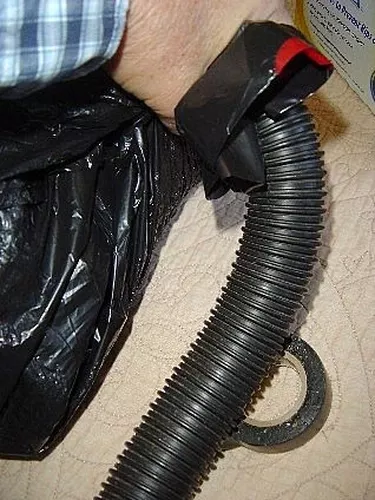
Place the items into the bag. Insert the vacuum cleaner hose into the bag so the end of the hose is approximately 3 inches away from the edge of the storage items in the bag. Gather bag tightly and hold firmly with one hand around the tip of the vacuum hose.
Step 3
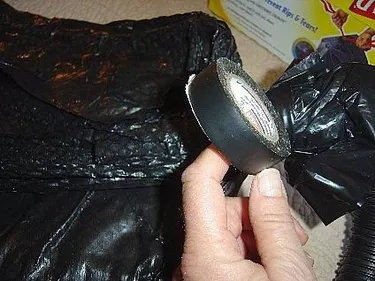
Turn vacuum on. Allow the vacuum to suck out all the air to create a vacuum sealer bag. Begin to tightly wrap the tape around the bag just in front of the end of the hose. Leave the vacuum turned on during this process.
Step 4
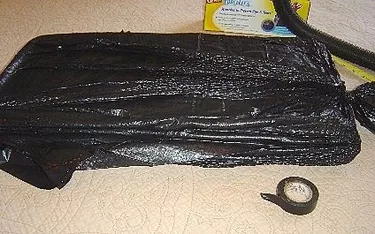
Wind the tape several times without yet removing the hose. Once bag is completely sealed off, turn off the vacuum. Write the contents that are stored inside onto the 3 x 5 card and tape onto the vacuum sealer bag. It's ready to store.
Tip
You may find it easier to have another person present to tape off the bag while you hold the bag ends together.
Things You'll Need
Vacuum cleaner with hose attachment
30 Gallon heavy duty trash bag
Electrical tape or packaging strapping tape
3 x 5 Index card & pen
Warning
As always, keep plastic bags away from small children.
Video of the Day