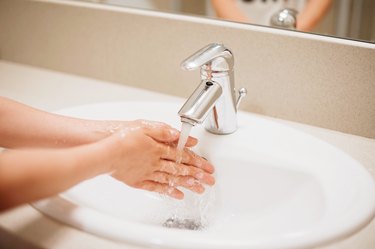
Delta lavatory faucets often come in a kit that includes the drain assembly, and this usually includes a bathroom sink stopper. When installed properly, the stopper closes when you pull up the lift rod behind the faucet and opens when you push the rod down. After several years, however, hair and other drain gunk can get lodged in the stopper linage, interfering with the operation of the stopper and clogging the drain. It's usually easy to remove this gunk, but to do it, you have to remove the stopper assembly. This is easy enough to do, but it involves working in close quarters in the sink cabinet. You'll need light, so wear a headlamp.
How a Delta Sink Stopper Works
Video of the Day
The Delta sink stopper assembly is basically a simple lever. The lift rod, which usually sticks up from the rear of the faucet body, connects to a horizontal pivot rod by means of a flat, slotted bar called a clevis. The pivot rod extends into the drain tailpiece and through a hook on the bottom of the stopper. You can't pull the stopper out of the drain until you disengage the pivot rod from this hook, and to do that, you have to disassemble the entire stopper linkage. It sounds like a lot of work, but you can probably complete the entire procedure in the time it takes to read the instructions for doing it.
Video of the Day
Delta Faucet Drain Stopper Removal
After clearing out the sink cabinet to give yourself room to work and putting on your headlamp, crawl under the sink and locate the clevis. You'll see a screw holding it to the lift rod. Loosen this screw with a screwdriver or pliers to disengage the clevis so you can pull it off the pivot rod. You'll see a spring clip on the pivot rod preventing the clevis from slipping off. Squeeze this clip and slide it back and off the rod, then remove the clevis.
The pivot rod is held to the tailpiece by a retaining nut. Loosen this nut with pliers and remove it, then pull the pivot rod out of the tailpiece. This frees the stopper so you can lift it out of the drain.
Replacing a Pop-Up Stopper With a Rubber Stopper
Pop-up stoppers have a habit of collecting debris that can cause frequent sink clogs. For this reason, some people prefer to remove the sink pop-up stopper altogether and use a rubber stopper. If you decide to do this, you have one more thing to do after you disassemble the linkage. You have to replace the tailpiece with one that doesn't have a hole for a pivot arm.
To do this, disconnect the P-trap, then try turning the tailpiece using a pair of locking pliers. You might get lucky and it may simply unscrew from the drain. Just screw on a new tailpiece, reassemble the P-trap and you're done. If the tailpiece doesn't unscrew, you have to replace the drain. Loosen the retaining nut holding the drain assembly to the bottom of the sink and remove the nut, then push up on the tailpiece to free the drain flange from the putty securing it to the sink. Clean up the putty well before installing the new drain.