Things You'll Need
Garbage bags
Kiln
Mold
Hammer
Work gloves
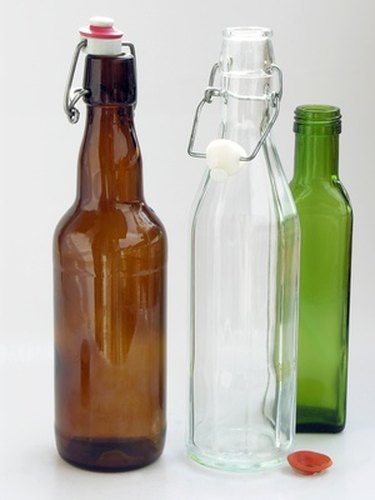
We all know that recycling is important, and melting glass bottles at home is one creative way to go about it. The glass bottles can be melted down to make jewelry, window panes or other works of art. To melt glass successfully and safely, you must own a kiln. A kiln suitable for glass-melting purposes will run you somewhere in the neighborhood of $4000 to $10,000, based on 2010 prices, but if you turn your melted glass bottles into art and sell it, you may eventually be able to recoup your expenses.
Step 1
Rinse the bottles that you intend to use and turn them upside down to air dry.
Video of the Day
Step 2
Place the glass bottles in a plastic garbage bag, then place another garbage bag over the first bag to create a double layer.
Step 3
Smash the glass bottles with a hammer. There's no need to turn them into dust, but you want to end up with fairly small pieces that will easily fit into your mold.
Step 4
Put on your work gloves and remove the glass pieces. If any pieces are too big or L-shaped, put them back in the bag and give them a few more whacks with the hammer. Leave the tiny pieces and the dust behind until you are ready to put them directly into the mold.
Step 5
Place the pieces into the mold. Arrange them in a way that leaves no—or very few—gaps, unless those gaps are an intentional aspect of the finished piece. For example, if you're making a pendant, you will want to leave one gap to act as the threading hole. Lay a few of the larger pieces at the base of the mold. Fill in some of the gaps left behind with the medium-sized pieces. Finally, use a spoon to scoop some of the dust and pieces from the bottom of the bag and into the mold to fill in small gaps.
Step 6
Place the mold on the kiln shelf and close and lock the kiln's door.
Step 7
Ramp your kiln up slowly. Increase the temperature roughly 500 degrees Fahrenheit per hour until the kiln reaches 1000 degrees Fahrenheit. Leave the temperature at 1000 degrees for 15 minutes to allow all the glass pieces to reach the same temperature. Then continue to raise your kiln's temperature (and watch the glass) until the glass reaches the consistency you want (usually around 1500 degrees Fahrenheit).
Step 8
Turn the kiln's temperature down to 1100 degrees Fahrenheit immediately after the glass reaches the look you want. Once it reaches 1100 degrees, turn the kiln off and allow it to cool down. Once the internal temperature falls below 100 degrees, you can safely remove your mold with gloved hands.
Step 9
Allow the glass to cool for another hour or so then remove it from the mold.
Tip
Since you won't know the COE (coefficient of expansion) of your glass bottles, only use one type of bottle per mold.
Video of the Day