With Microsoft Excel 2013 and Excel Online, the person who creates a spreadsheet can share it for collaboration. Excel Online has basic sharing options, while Excel 2013 allows you to customize editing permissions within a workbook, a worksheet or even whether individual cells can be edited or not.
Using OneDrive
Video of the Day
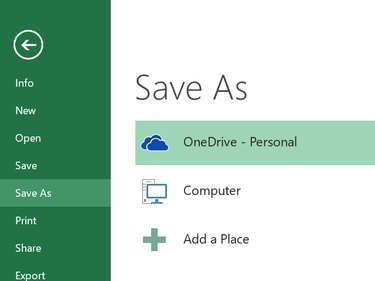
Before trying to share an Excel file with others, first save it to OneDrive, Microsoft's free cloud storage service. To save an Excel file on your computer to OneDrive, click Excel's File tab, select Save As and then click OneDrive. OneDrive Excel files can be opened using Excel 2013 on your desktop or with Excel Online, another free service that comes with your Microsoft Account.
Video of the Day
Sharing With Excel Online
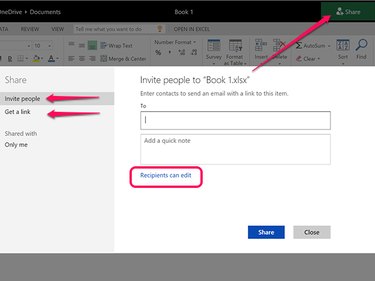
Excel Online offers basic options for sharing a workbook from any Web browser. When you click the Share button below the browser's address bar, you can send the link to others using their email addresses, and specify whether or not they can edit the workbook. If you click the Get a Link option, you can create one share link for viewing the workbook and a separate link that allows people to edit the workbook.
An important benefit of using Excel Online is that changes are saved automatically. If everyone collaborating on a workbook uses Excel Online, they can work on it together, with all changes displayed in real-time.
Sharing With Excel 2013
Excel 2013 is best if you want to specify what can and can't be edited. Note that if you are working on a workbook in Excel 2013, no one else can save changes until you save the workbook and close it.
Controlling Overall Share Permissions
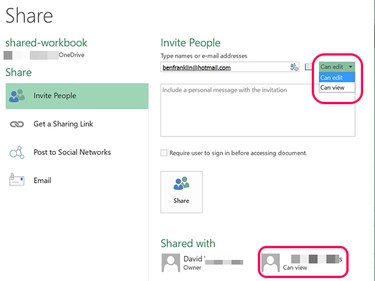
When you share a workbook with others, choose whether they can edit it or not. To share the workbook, click the File tab, select Share and then click Invite People. Enter the person's email address in the Invite People field. Click the Permissions menu on the right and select Can Edit or Can View. You can change these permissions at any time by right-clicking that person's name in this Share window.
Controlling Share Links
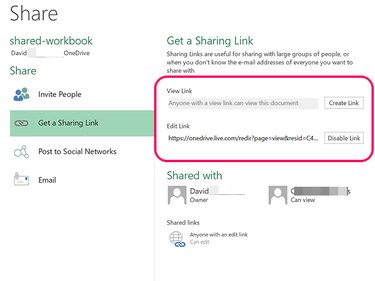
To send a share link to a workbook on your OneDrive account with the same permissions for everyone, click the File tab, select Share and then click Get a Sharing Link. For people who should be able to view the document but not edit it, create a View Link, and send it to them. For those who should also have editing permissions, create an Edit Link instead.
Come back to this same screen at any time if you want to revoke the links by clicking the Disable Link button.
Controlling Permissions Within a Workbook
Step 1
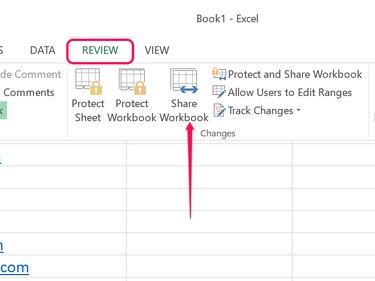
Click the Review tab and click the Share Workbook icon in the Changes section of the ribbon.
Step 2
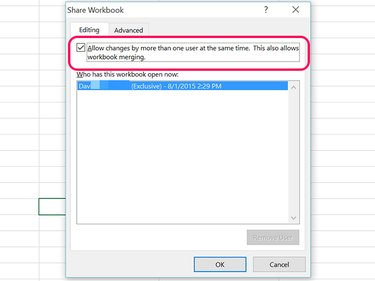
Click the check box to Allow changes.... at the top of the Share Workbook window to allow more than one person to edit the Excel file at the same time. This enables workbook merging.
Step 3
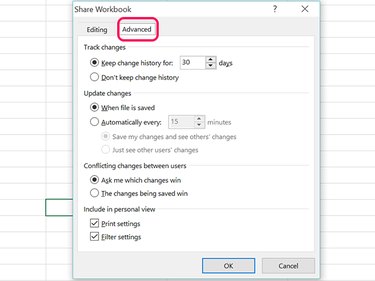
Click the Advanced tab. Here, you can specify how long the change history should be saved and how often to save the file's changes. You can also direct Excel to prompt you whenever there are Conflicting Changes Between Users so you can decide what should be saved and what shouldn't.
Step 4
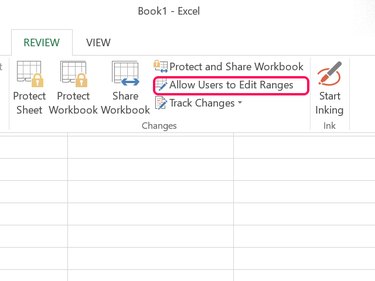
Click the Allow Users to Edit Ranges <ahref="https: support.office.com="" en-us="" article="" lock-or-unlock-specific-areas-of-a-protected-worksheet-75481b72-db8a-4267-8c43-042a5f2cd93a#__toc296590516"=""> </ahref="https:>option in the Review ribbon to allow users to edit cells that have been locked in the worksheet.
Step 5
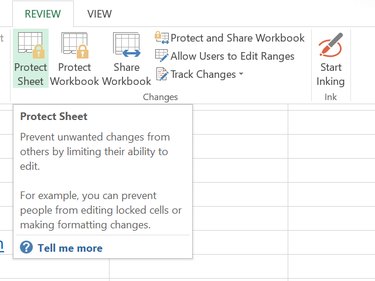
Click the Protect Sheet icon in the Review ribbon to allow or block users from editing specific parts of the worksheet, like changing fonts, adding or deleting rows or columns, sorting data or changing hyperlinks.
Step 6
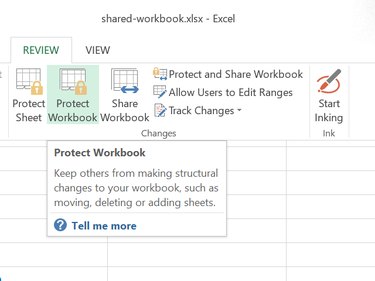
Click the Protect Workbook icon to prevent anyone from changing its structure. Structural changes include adding or deleting worksheets.
Regaining Control of a Workbook
Step 1
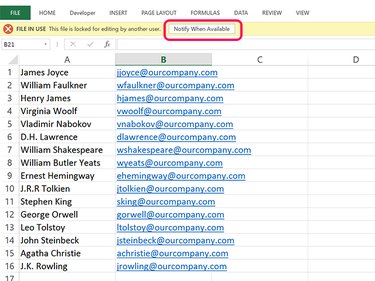
Launch Excel and open the shared workbook. A notification appears indicating that the workbook is locked from editing because someone else has it open. You can edit the workbook but can't save it while the other person is editing it.
Click the Notify When Available button if you want notification when it's okay to save the workbook.
Step 2
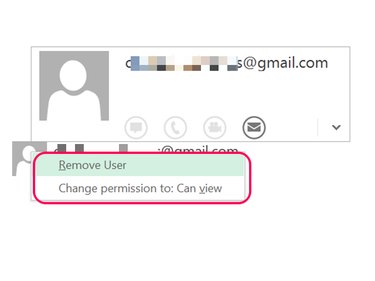
Click the File tab and click Sharing. Right-click the person's name and select Can View to block him from editing, or select Remove User to revoke his permissions.
Step 3
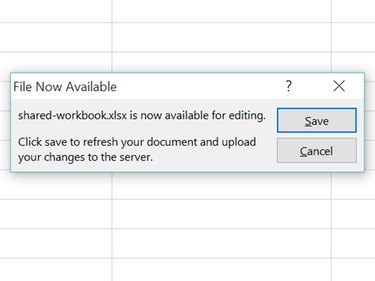
Go back to the Workbook, which is now free to be edited. Any changes that the other person recently made are not saved. Click the Save button that appears on the screen if you made changes while the other person still had the workbook open.