The overscan on the Sony LCD HD television occurs when you connect a computer to the TV set. Due to the sizing difference between the standard computer monitor and the television set, you may see strange bars or other items on the screen that typically shouldn't be there. However, correcting the overscan isn't a terribly difficult task and you can correct it just by adjusting a few cable connections.
Step 1
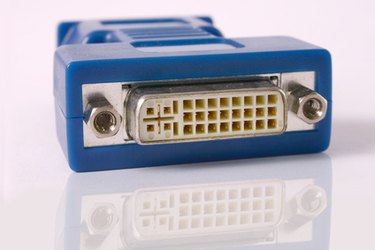
Check the cable connection you are running to the Sony television. Although there are many different ways to connect your computer to a Sony LCD TV, the best is using a DVI-to-HDMI adapter.
Video of the Day
Step 2
Plug the DVI-to-HDMI cable into the DVI port on the computer. On the side there are threading screws. Turn these screws clockwise to tighten the cable and secure the connection between the adapter and the computer.
Step 3
Connect the HDMI cable into an HDMI port on the Sony LCD TV. There are multiple HDMI ports on the television so you can chose which on you want.
Step 4
Power on the television and the computer and press the "Input" button on the LCD remote control. Select the input you have the computer connected to.
Step 5
Push the "Menu" button on the Sony remote and select "Picture." Find the "Picture Mode" option and adjust it to "Full Pixel." Momentarily you should see the screen adjust size and the overscan issue corrects itself.
Video of the Day