If you want to increase the efficiency of your lights and lamps but prefer the look of a traditional bulb, look no farther than the halogen bulb. Like traditional bulbs, halogen bulbs are incandescents that pass electricity through a tungsten wire. The gasses inside of the two bulbs are different, however, which changes the way the light bulb works.
How They Work
Video of the Day
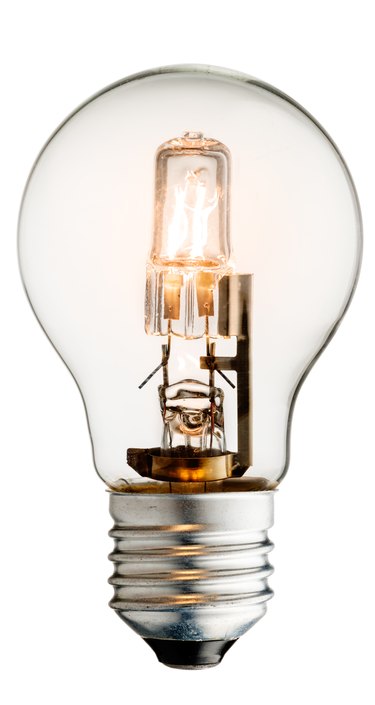
Like traditional bulbs, halogen light bulbs work by passing an electrical current through a tungsten wire, which evaporates as it glows. The difference between the two is in the gas. Traditional bulbs are usually filled with nitrogen-argon, while halogen bulbs contain bromine. When tungsten evaporates in a traditional bulb, it leaves metal deposits on the inside of the glass, creating the black color you see on the top of old light bulbs. In a halogen bulb, the gas allows the bulb to reach higher temperatures, allowing the evaporating tungsten to vaporize rather than depositing itself on the glass. Tungsten that fails to vaporize settles. When it does, some of the tungsten lands back on the filament, where it prolongs the life of the bulb.
Video of the Day
Halogen Pros
Halogen bulbs provide the same look as traditional bulbs, so they don't look out of place in light fixtures, as CFL bulbs sometimes do. Halogen bulbs also light fully without hesitation the instant the light switches on and work well with dimmers. Unlike LED lighting, halogen bulbs create a warm glow with a yellowish cast rather than a blue one, so they feel more like traditional lighting. Though halogen feels like traditional lighting, it costs less to operate. A halogen bulb can produce the same amount of light as a 60-watt traditional incandescent while using 25 percent less energy, making them a greener option than traditional bulbs. These bulbs are also recyclable in some areas. If your municipality does not offer a halogen recycling program, the bulbs are safe to dispose of with your regular trash.
Halogen Cons
Halogen bulbs offer many benefits but are not without their negatives. These bulbs are a bit more expensive than traditional bulbs, costing about 60 cents more. Most users will make that cost up in energy savings, but you may not in a light you only rarely use. Halogen bulbs typically last longer than traditional bulbs and will withstand up to a year of typical use, but not every bulb will live up to this level of performance. Halogen bulbs run hotter than traditional incandescent bulbs, as well, so it's important to keep flammable materials away from them. You may notice the heat when sitting next to or under them. You should never touch halogen bulbs with your bare hands, because they produce so much heat and because the oil from your skin can create a hot spot that shortens the life of the bulb. Wear gloves when handling them to eliminate this problem, and clean the bulb if you have touched it.