
If you're not satisfied with the templates available for Microsoft PowerPoint, use Photoshop CC 2014 to design a single slide to use as a background when entering text and images in PowerPoint or to create every slide in Photoshop and import them into your presentation.
Creating a Slide Background
Video of the Day
Step 1

Launch Photoshop and press "Ctrl-N" to create a new file. In the dialog box that opens, set the Width at "10" inches and the height at "5.627" inches. This is the standard size for Microsoft PowerPoint 2013 slides, which have a 16:9 aspect ratio. Select "OK."
Video of the Day
Step 2
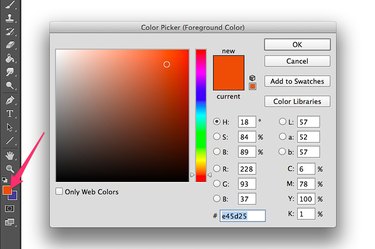
Click the "Layer" menu and select "New Layer" to add a new layer. Click the "Foreground Color" icon in the Toolbar and select a color to use for the background of your slide. If you'll be using a company logo, you may want to use a color in the logo or a complementary color. Click the "Paint Bucket" tool in the Toolbox and then click the slide to change the background to that color.
Step 3
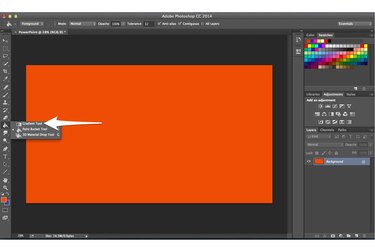
Click and hold the bottom-right corner of the Paint Bucket Tool and select the "Gradient Tool" from the drop-down menu that opens.
Step 4
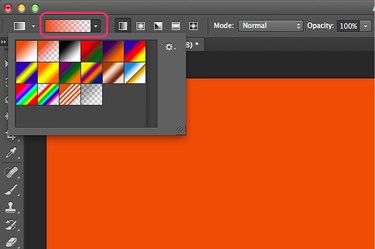
Select a Gradient Fill style by clicking the "Gradient Editor" icon in the Options bar. To have the background color fade to transparency, for example, click the second preset option displayed. Drag the cursor across the screen in the direction you want the color to begin fading.
Step 5
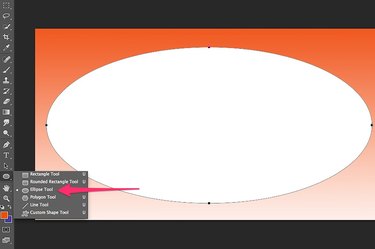
Select the "Ellipse Tool" from the Toolbox. Select white or another appropriate color from the "Fill" icon in the Options bar. Drag the cursor across the screen to draw a white oval.
Step 6
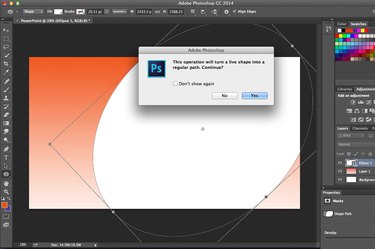
Select "Free Transform Path" from the Edit menu to change the oval's size or appearance. To rotate the oval, hover the cursor just outside of a corner "Handle" until it changes into a double-headed arrow, then drag the cursor. When you press "Enter" to save the changes, Photoshop warns you that it will change the live shape into a regular path. Click "Yes."
Step 7
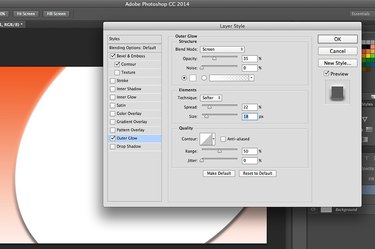
Click the "Layer" menu, select "Layer Style" and then select "Bevel & Emboss." Click the "Contour" check box. This adds some texture to the edge of the oval. Select "Outer Glow" to have the oval's edges shine over the background. Alternatively, you may want to add a drop shadow or another style to the oval.
Step 8
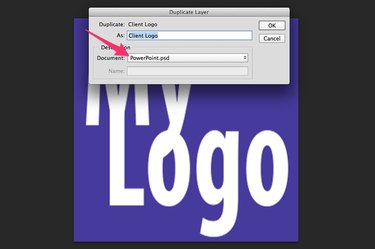
Open an image that you want to appear in the slide. If you are doing a presentation for a client, for example, you may want to add the client's logo. Open the image in Photoshop. Select the "Layer" menu and click "Duplicate Layer." Click the "Document" menu, select the PowerPoint file as the destination and click "OK." The image opens as a new layer in that file so you can change its size and location as needed.
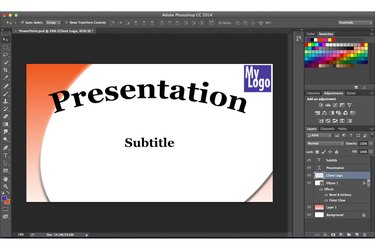
Step 9
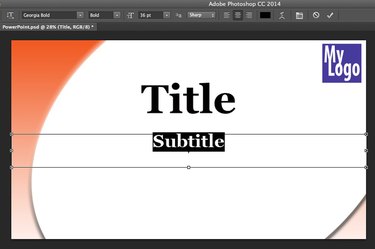
Add text to your slide by selecting the "Horizontal Text Tool" from the Toolbox. Drag the cursor from the left edge of the slide to the right edge and type your words. Highlight the words and change the formatting by using the Options bar. Remember that any text you enter here won't be editable in PowerPoint.
Step 10
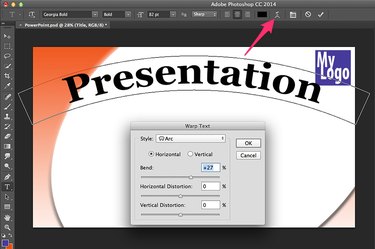
Click the "Warp Text" icon in the options bar to add a warp effect to your text. You can also use Layer Styles from the Layer menu to add things like an inner glow or drop shadow.
Step 11
Save your slide as a PSD file so you can edit its layers for a new slide if needed. Save a copy of the slide for PowerPoint in JPG or PNG format by selecting "Save For Web" from the File menu. This creates a Web-optimized version of the slide with a small file size, which is perfect for PowerPoint.
Step 12
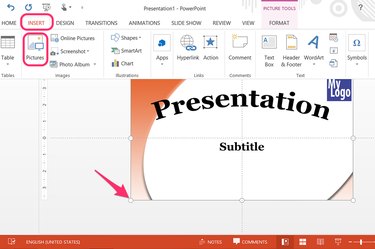
Launch PowerPoint and create a new presentation by clicking the "Blank" template. Click the "Insert" tab, then "PIcture" to insert one of your Photoshop slides. Drag the corner handles to resize the image so it covers the entire slide.