Stockbyte/Stockbyte/Getty Images
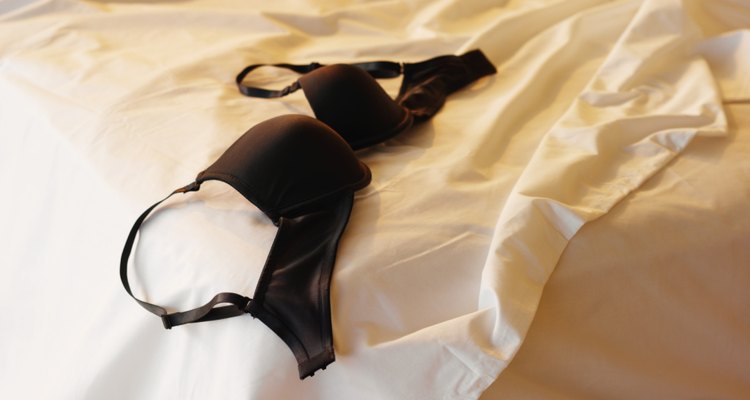
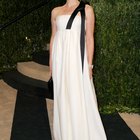
When you're well-endowed, choosing a bra that provides appropriate lift and support will keep you looking your best and feeling comfortable. A well-fitting bra will not only help your posture and appearance but also reduce back, neck and shoulder pain. Learning how to choose and fit a bra can make a difference in both your wardrobe and your overall quality of life.
Styles
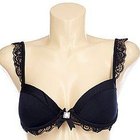
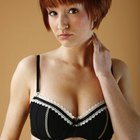
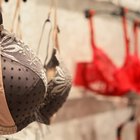
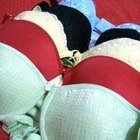
A variety of different bra styles can provide lift and support for large breasts. Many bras made for larger busted women are full coverage, with a cup that completely covers the breast. Balconette style bras cover the lower half of the breast but leave the upper portion of the breast bare, typically with wide-set straps. Plunging bras are low cut, with only a narrow join in the center of the bra; these bras pull the breasts close together in the center of the chest, creating cleavage. For the most secure fit, look for bras that fasten in the back with at least three hook-and-eye closures. Select wider straps to reduce shoulder strain.
Size
Regardless of bra style, it will not lift and support your bust if it is the wrong size. A professional bra fitting, preferably at a lingerie shop or department store with a wide size selection, is ideal; however, you can estimate your size at home with a tape measure. Wearing your best-fitting bra, measure under your bustline, pulling the tape snugly, to get your band size measurement; if the measurement is an odd number, add 1 inch. Measure around the fullest part of the breast, keeping the tape parallel to the floor but not too tight, to determine cup size. Subtract the band size from the full bust measurement. Allow 1 inch per cup size; for example, a 4-inch difference is a D cup. If your underbust measurement is 34 inches and your overbust measurement is 40 inches, try a 34F.
Fit
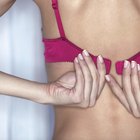
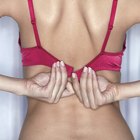
The underwires of your bra should fully contain the breast, including breast tissue in the underarm area. The wires should lie flat against your chest, both at the sides and in between the breasts. Cups should not have excess fabric, wrinkles or gape at the sides or front. Breast tissue should be contained in the cup. A too-small cup will push breast tissue out the sides and top of the bra cups. Bra bands need to fit snugly, sitting flat and parallel to the floor all the way around the body.
The Best Bra for Your Body
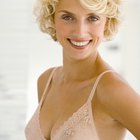
If you have a full, rounded bustline, you may be comfortable in a variety of bra styles, depending upon the style of your shirt or dress. Bustlines that are fuller at the bottom may not look their best in full coverage styles, since the breasts may not fill the upper portion of the cups. Balconette type bras may offer a more flattering silhouette if your bust is fuller at the bottom. If you are large busted, but your breasts are not as youthful or full as you'd like, a plunge bra can provide a fuller look and emphasize cleavage. If you have prominent nipples or prefer a smooth, rounded look, most bra styles are available in molded cup or T-shirt bra variations. You may also prefer a molded cup if you have a slight difference in size between your breasts, as molded cups can create the appearance of a more even bustline.
Related Articles
How to Decrease the Padding in a Bra
How To Alter Bras
How to Put on a Long Line Bra
How to Replace Swimsuit Bra Cups
How to Increase Breast Size With Bra ...
How to Wear Silicone Bra Inserts
Good Leotards for Big Busts
What Are the Benefits of Wearing a ...
How to Dress a Big Stomach & Small Legs

How Do Corsets Work With Breast Forms?
How to Find the Correct Bra Size
About Transgender Bras
How to Keep Your Side Bra From Showing
What Does Bust Size Mean?
What Is a Plunge Bra?
The Best Formal Dress Style for Pear ...

Differences in Bra Cup Sizes

The Advantages of Racerback Bras
How to Put on a Coconut Bra
Outfit Ideas for an Apple-Shaped Body
References
Writer Bio
With a master's degree in art history from the University of Missouri-Columbia, Michelle Powell-Smith has been writing professionally for more than a decade. An avid knitter and mother of four, she has written extensively on a wide variety of subjects, including education, test preparation, parenting, crafts and fashion.
Photo Credits
Stockbyte/Stockbyte/Getty Images