Your HVAC system can be installed with various numbers of wires. All of this depends on the type of HVAC system you have. If you have a heat pump system or a system that controls either the ventilation or humidity of your home, then you can have a seven-wire thermostat. Knowing what your system has and what the wire terminals mean is important before replacing your thermostat.
Selecting the Right Thermostat
Video of the Day
Once you have established your system needs and figured out what each wire does, proper thermostat selection is necessary. If you have a heat pump, then select a heat-pump-capable thermostat. These thermostats are pretty common, but what isn't as common is a thermostat that uses the ventilation or humidity controls of an HVAC system. Be sure to check the specifications of the thermostat before purchasing it and installing it.
Video of the Day
Basic HVAC Thermostat Wiring and Safety
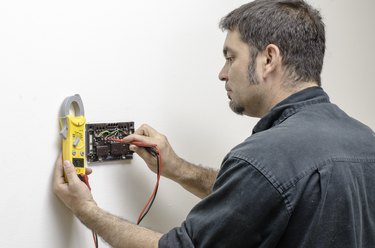
Basic wiring safety is very important. For both your safety and the safety of the equipment, be sure to isolate the power to your HVAC system. A little 24-volt shock can startle you, but blowing a fuse on the HVAC system will result in a trip to the hardware store. Be sure to write down what wire goes where on the original installation or simply take a picture of it before removing any wiring.
Due to the various uses of a seven-wire thermostat, it is always best to swap thermostats as originally wired. Not all systems are the same, but most follow some simple wiring guidelines. Most installers use 18-gauge wire in certain colors for certain terminals. The color of the wire does not always indicate its respective terminal, so take care to replace each wire to its respective terminal no matter the color.
Installing a new thermostat involves securing its mounting or backing plate to the wall, securing each wire to its proper screw terminal (using a small screwdriver), and snapping the thermostat body onto the mounting plate. Once you have successfully installed a seven-wire thermostat, turn the system power back on and program and test the thermostat. Follow all programming procedures in the thermostat's installation manual for a successful installation.
Honeywell Thermostats and Heat Pumps
If you are swapping your old thermostat for a new Honeywell thermostat, then there may be some differences in using it in a heat pump application. A heat pump has a reversing valve within the outdoor unit that either engages or disengages during a call for heat. The reversing valve reverses the flow of refrigerant to switch from cooling to heating mode. The terminals on many older thermostats are labeled as O or B. Either engages or disengages the reversing valve in the outdoor unit. Honeywell uses only one terminal, labeled O/B, and the thermostat will need to be programmed to either engage or disengage the reversing valve.
If your Honeywell thermostat is blowing heat when it should be blowing cold from your heat pump ducts, then look into the programming and find the part indicating the heat pump engaging or disengaging the reversing valve and change that value.
Auxiliary and Emergency Heat
Many times, a normal heat pump has difficulty keeping your house warm on colder days. This is the main purpose of an auxiliary heat terminal. This auxiliary heat can be an electric heat source, a hydronic heat source, or even a fuel. In any case, the auxiliary heat terminal can be labeled W2 or AUX. Be sure to read and understand the installation manual for your thermostat and application. Some thermostats use the emergency heat, or E, terminal for this type of application.