Things You'll Need
Electrician’s screwdrivers
AWG #10, solid copper wire, green insulated or bare
Diagonal pliers/wire cutters
Wire strippers
Needle nose pliers
3-wire 30-amp dryer whip(power cord)
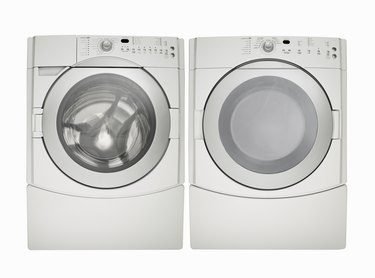
According to the 1996 Revision of the NEC (National Electric Code), all new branch circuits for residential clothes dryers are to be wired using a separate Machine Grounding Conductor. Under the new code requirements, the old familiar 3P (Pole), 30-Amp Dryer Receptacle is replaced with a 4P, 30-Amp receptacle. The older 3P, 3-wire dryer circuits are still legal and safe to use, so there's no need to rewire your dryer branch circuit to install a new dryer that came equipped with a 4-wire "appliance whip" (wire). It's much easier and much less expensive to replace the 4-wire whip with a 3-wire whip.
Step 1
Remove the plate covering the electrical connections and remove the four screws holding the "Red," "White," "Black," and "Green" leads in place. The "Red" and "Black" leads are the hot wires with 220-volts between them. The "White" lead is the "Grounded" neutral conductor and there are 110-volts between it and either of the hot legs. The "Green" wire, which is fastened to the dryer frame, is the machine grounding wire/conductor.
Video of the Day
Step 2
Loosen the two screws on the whip retainer and pull it free.
Step 3
Cut a 6-inch piece of AWG #10 solid copper wire, strip ¾-inches of insulation from each end and form the stripped ends into clockwise loops using the needle nose pliers.
Step 4
Using this wire, "bond" the dryer's frame to the center, "Neutral" post on the terminal strip. Place the wire on the post in a clockwise direction so it's pulled tight against the terminal screw. Do not place the loop in a counterclockwise direction because it be forced out from under the screw as it is tightened.
Step 5
Feed the 3-wire whip through the retainer clamp and secure in place. Do not over tighten the screws on the whip retainer because over tightening can damage the whip's insulation causing a short circuit or ground fault condition.
Step 6
Connect the "Red," "White," and "Black" leads to the terminal strip. Use caution when tightening these screws because over tightening them can strip their threads and make it necessary to replace the terminal strip.
Step 7
Replace the cover plate to the terminal box. Plug the dryer in and you're ready to start drying clothes.
Warning
You can replace a damaged dryer wall receptacle without rewiring the branch circuit to accommodate the fourth wire machine grounding conductor but if you move the dryer receptacle to a new location, you will have to rewire the branch circuit. Dryer branch circuits were wired with 10/3 w/Gr ROMEX®, NMC (Nonmetallic Sheathed Cable) so the fourth wire is already there but you will have to install the new 4P, 30-Amp receptacle.
Video of the Day