Things You'll Need
Hammer
Router
Drill
Screwdriver
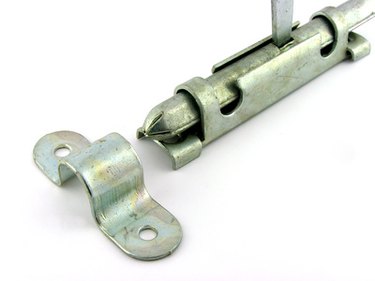
Flush bolts are used to lock doors securely in place. They are often installed in pairs with one on the bottom and one on the top of the door. This will lock the door in a three point latching system making the door solid. The bolts can be classified into the three categories of manual, automatic and semi-automatic. Manual flush bolts need to be operated manually, or by hand, and automatic flush bolts are automatically operated; semi-automatic flush bolts need to be manually unlatched to open the door, but will re-latch by themselves when the door closes. They are used most commonly as an extra security measure.
Step 1
Remove the door panel from the casing. Remove the bolt from the hinges to release the door panel. Use a hammer and screwdriver to tap the bolt free from the hinges.
Video of the Day
Step 2
Create a flush bolt route in the bottom and top of the door. Doors can be purchased with flush bolt routes already created in the door panel for easy installation. If there are no routes present, then they will have to be made using a router and the correct design and sized bit. The size of the bit will depend on the flush bolt model and size. Read the information included with the flush bolt carefully.
Step 3
Use the drill to create holes from the created route to the bottom of the door. This is where the bolt will slide through. Drill from the bottom of the door up to the route. Repeat the same steps for the route on the top of the door, drilling from the top of the door into the route.
Step 4
Install the bottom flush bolt. Use the included screws and a screwdriver to secure the bolt into the door. Repeat the procedure to install the top flush bolt.
Step 5
Attach the door panel back on to the door casing. Align the hinges and re-install the bolts.
Step 6
Close the door and mark the location of the sliding bolts on the door frame. Open the door and use the drill to create holes in the door frame that will align with the sliding flush bolts.
Step 7
Test the flush bolts. If it was installed successfully, then the bolts will slide into the holes created in the door casing and the door will be locked securely in place.
Tip
Placement of the flush bolts will depend on the door model. Single swinging doors will have the bolts on the indoor surface.
Double swinging doors will most likely have the bolts installed on the interior surface where the doors close against each other.
Installation of the sliding bolt varies from model to model. Follow any additional included instructions closely.
Integrating flush bolts into a door panel needs to be done precisely to work effectively. It should be installed by an experienced carpenter for best results.
Video of the Day