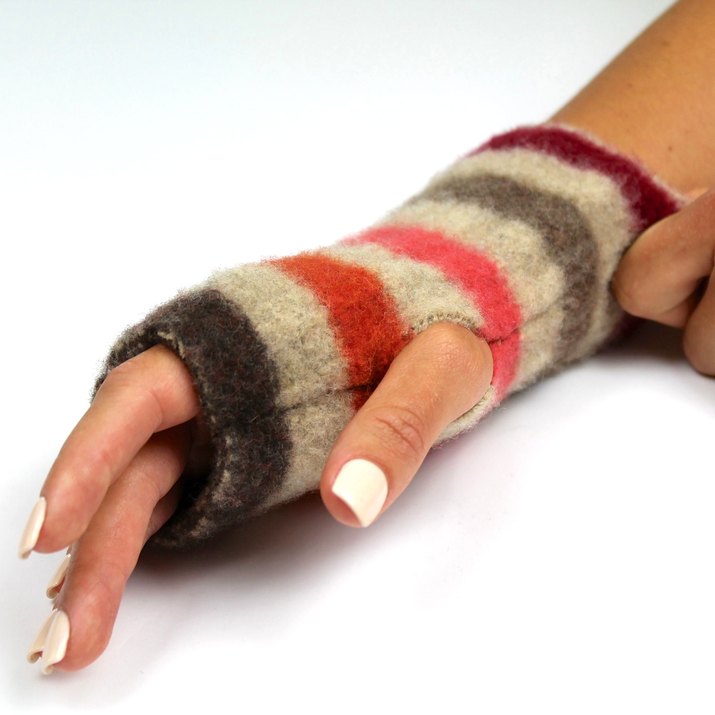
Overview
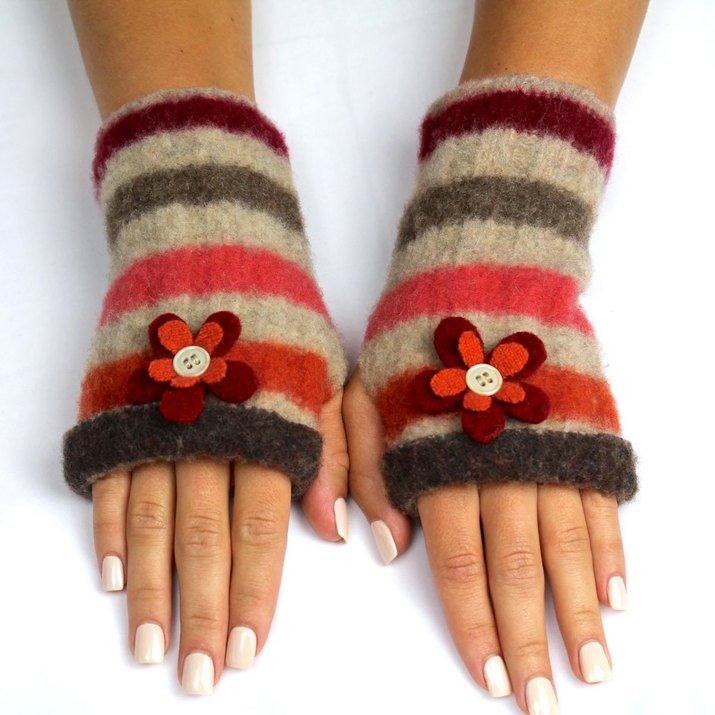
What better way to upcycle a damaged, worn or otherwise useless wool sweater than by creating something new and functional? Handmade gloves achieve this, and provide a thrifty way to keep hands warm and fingers available to text and type. These environmentally friendly fingerless gloves are stylish and flattering, whether they're worn during chilly winter months, or in a cold, air-conditioned summer office. Watch the video here!
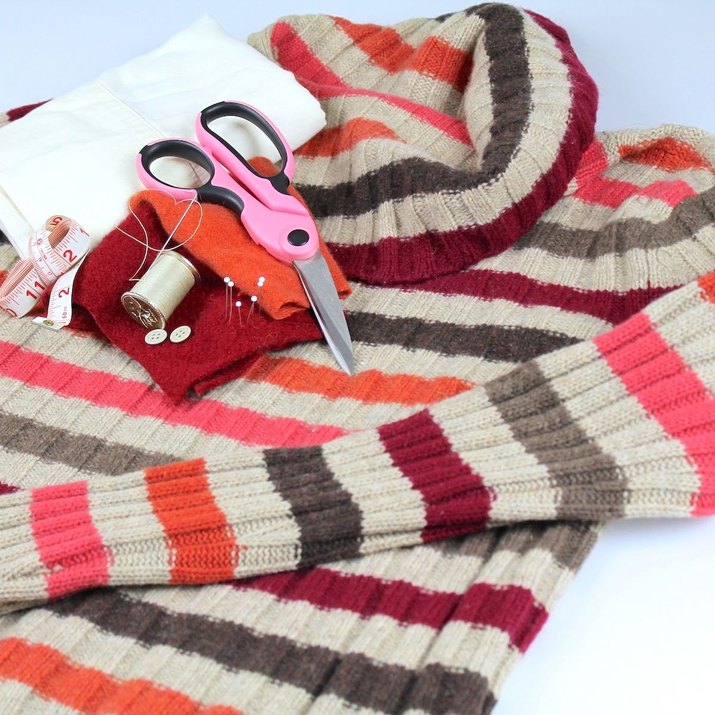
Materials and Tools
To create these gloves, you'll need a 100% wool sweater (merino wool or lambswool), a pillow slip, a rubber band, detergent, access to a washer and dryer, a tape measure or ruler, pins, a large needle, strong thread, scissors, buttons (optional for embellishment), and wool scraps (optional for embellishment). Read the fabric content of the sweater and beware of labels that say washable or super washed wool--these won't felt.
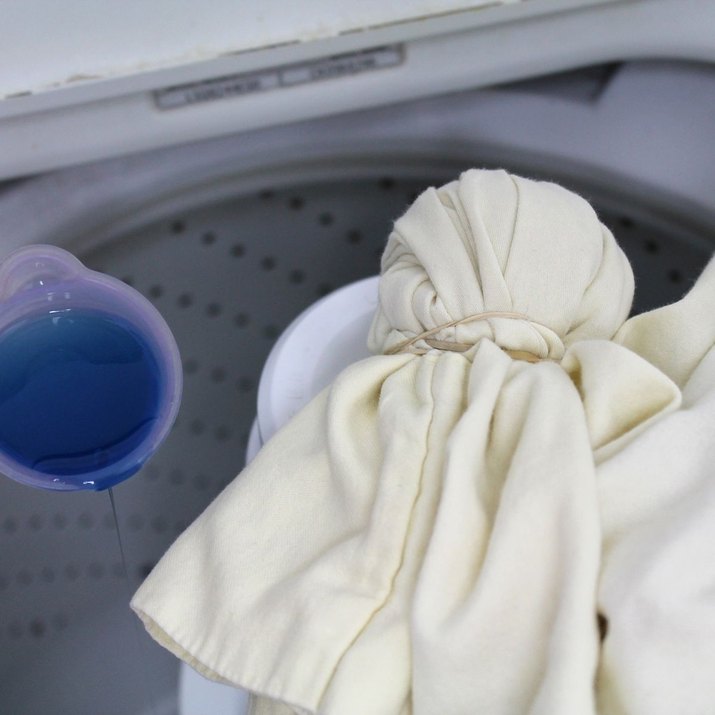
Sweater Preparation
Check for holes in the lower portion of sweater sleeves; holes become larger during the felting process. If the sweater has no holes, place it in a pillow slip, twist the top of the pillow slip, fold it over about 5 inches, and tightly secure with a rubber band. The pillow slip collects the fuzz and lint shed by the sweater and protects the washer and plumbing.
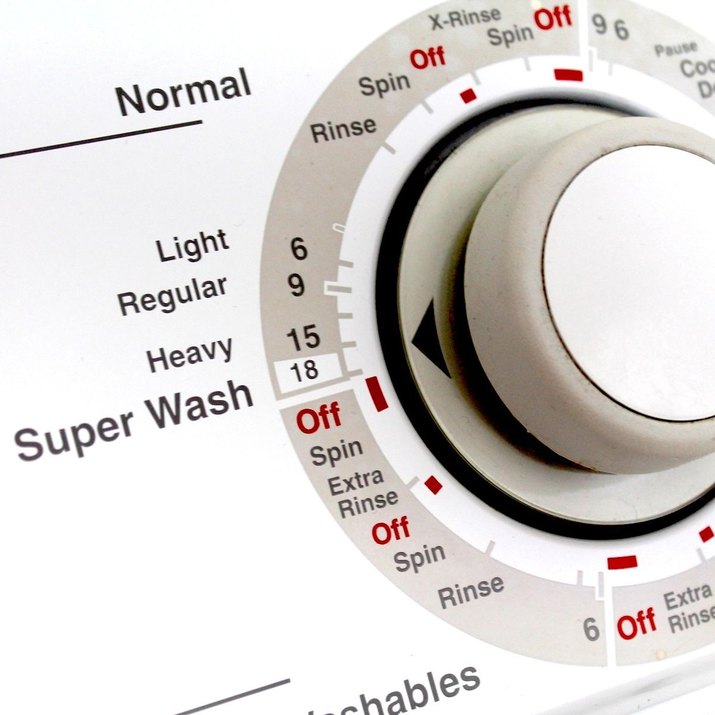
Felting the Sweater
Wash in hot water with 1/8 cup detergent and use the washer's settings that produce the most agitation in the smallest volume of water. Agitation causes the wool fibers in the sweater to tightly connect and shrink, and creates a dense, warm, durable, felted fabric for gloves.
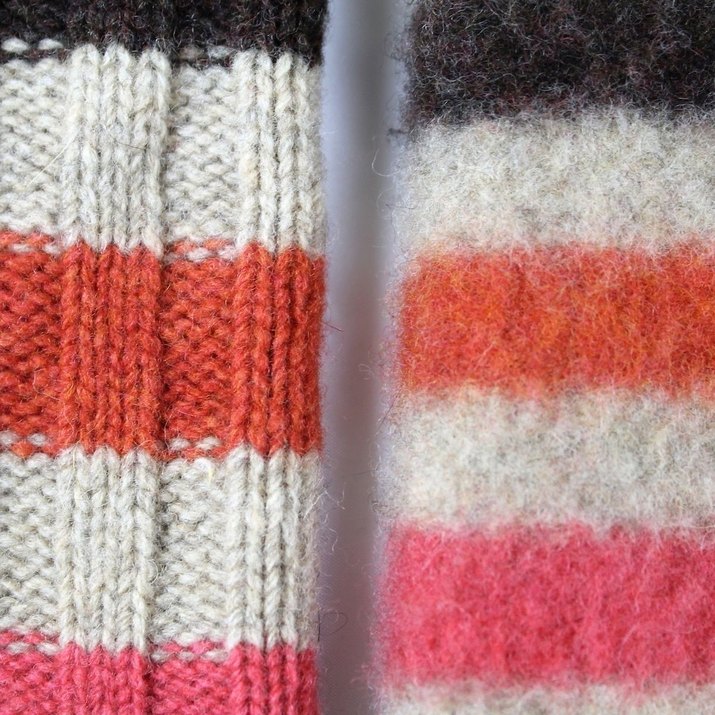
Shrink and Inspect Sweater
Stop the washer after the wash portion of the machine's cycle and inspect the sweater's weave for shrinkage. The weave becomes less apparent and the fabric will be thicker and fuller. Repeat the wash portion of the cycle until the sweater is about 1/2 its original size. Finish by running the rinse cycle.
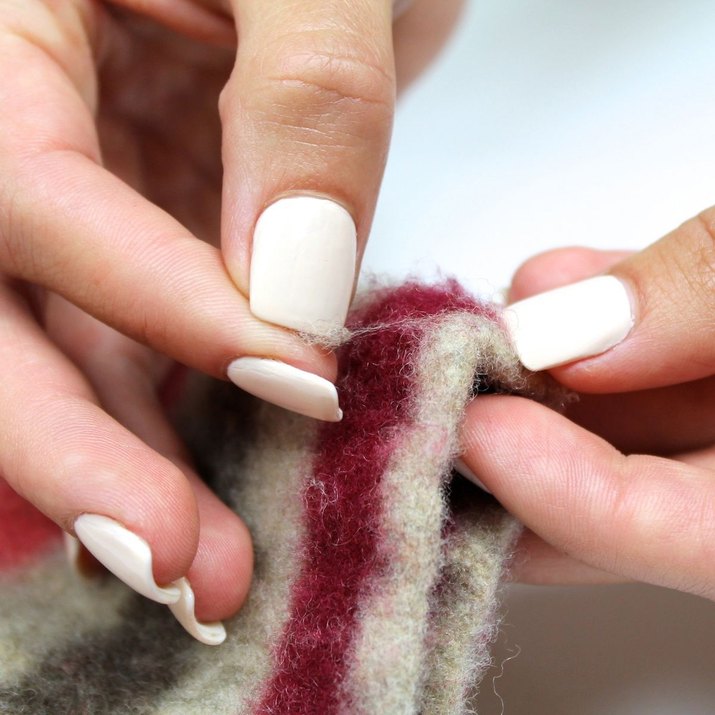
Remove Imperfections
Aggressively remove any large wads of wool or fuzz balls from the sweater. Removing the fuzz won't damage the wool, and it will improve its texture and quality. Tumble dry the sweater on high heat. When thoroughly dried, pull additional fuzz balls until the surface of the wool is smooth and even.
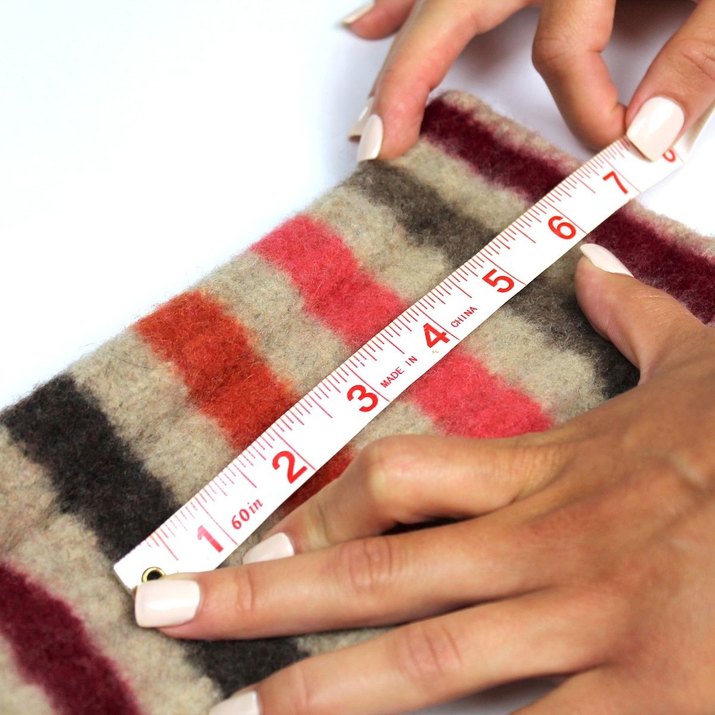
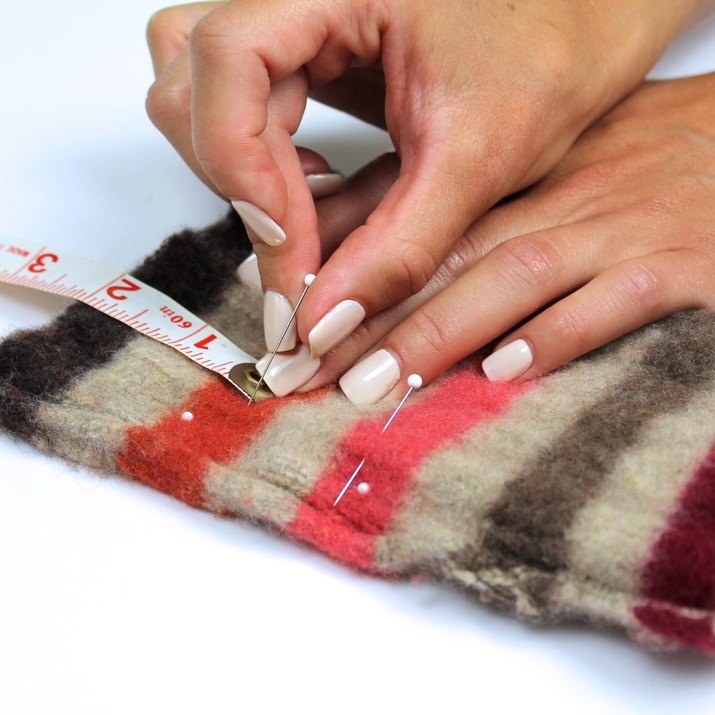
Measure Gloves
After felting, place hand into the sleeve of the sweater, opposite the normal direction, and check it for fit. If it fits, measure 7 inches (or desired length) from the bottom of each sleeve and mark with pins. If a larger size is needed, cut a bit off of the sweater's wrist portion until you can fit your hand and wrist comfortably through. If, when checking fit, the sleeve already fits snugly, skip the sewing steps. Simply cut thumb holes between perpendicularly placed pins in the "Measure and Mark Seams" step (slide 10).

Cut Gloves
Cut off each sleeve at the pin marks and set aside the rest of the sweater. If adequately felted, the wool should not fray when cut.
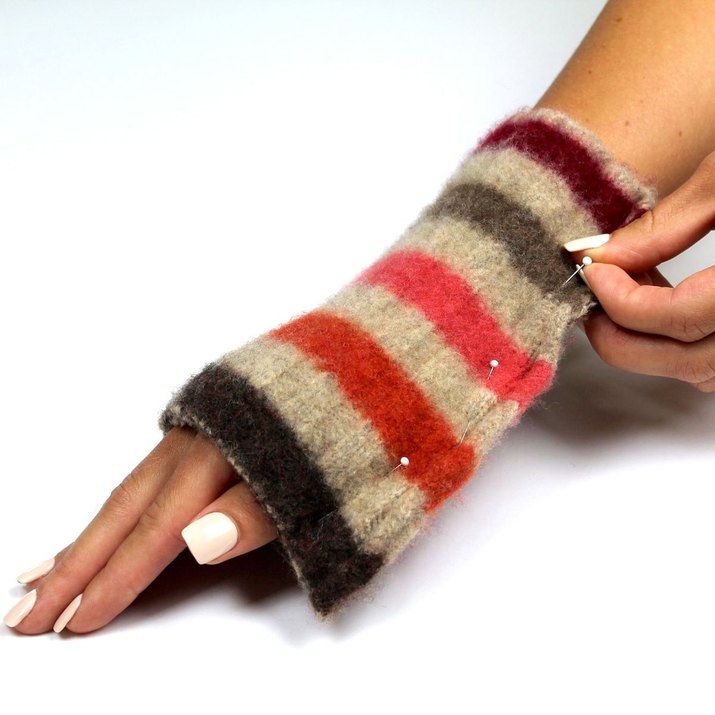
Form and Fit Gloves
Turn each cut-off portion inside out. Put hands into the uncut ends first and pull cut ends over the knuckles with the seams on the inside. Pinch the fabric on both sides of the seam together, snugly fitting to create gloves. Pin a new seam line from the bottom to the top of each glove following the form of the hands. Carefully remove gloves leaving the pins in place. Mark the finger and wrist end of each glove for reference. Remember to create the gloves as opposites: each glove is a mirror image of the other.
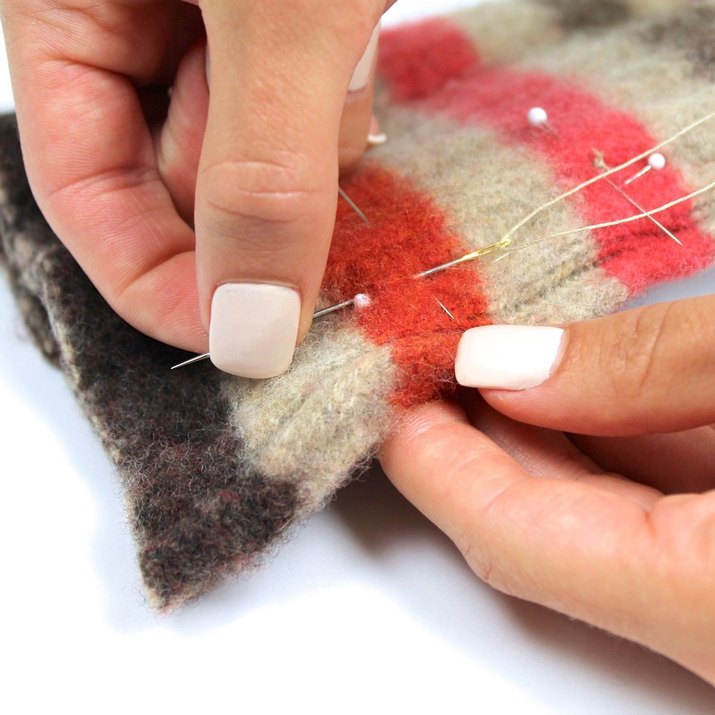
Measure and Mark Thumb Holes
Decide where you would like to place your thumb holes. This will vary depending on how much of your fingers you'd like your gloves to cover. Mark the top and bottom of your thumbhole with two perpendicular pins on each glove. The space between the two pins should be about 1 - 1 1/2 inches long, depending on the size of your thumb.
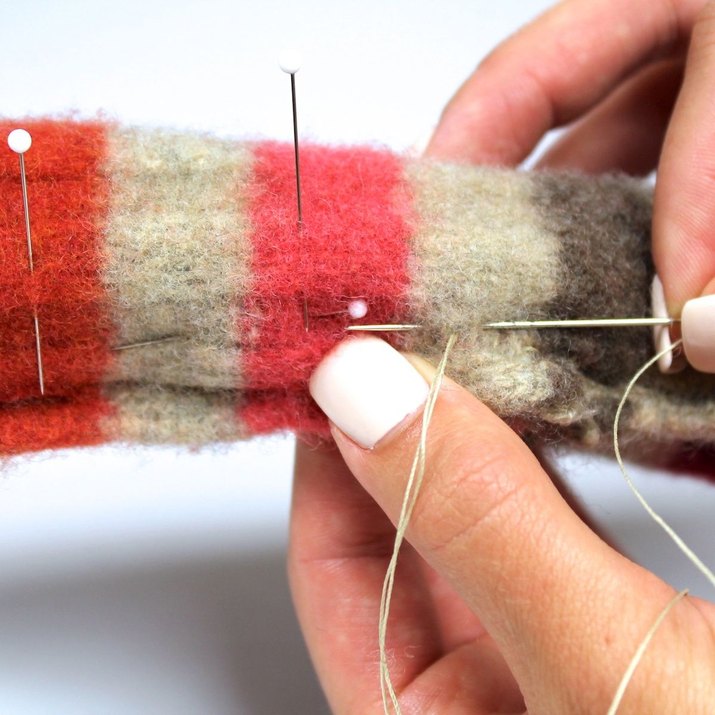
Sew Wrist Portion of Gloves
Sew new seams that follow the pins placed parallel to the original seam; start at the wrist end of each glove. Use a simple running stitch, and stop the seam at the first perpendicular pin. Knot and cut the thread.
Sew Finger Portion of Gloves
Start at the second perpendicular pin on each glove. Use a simple running stitch, and sew to the end of the finger portion on each glove. Knot and cut the thread.
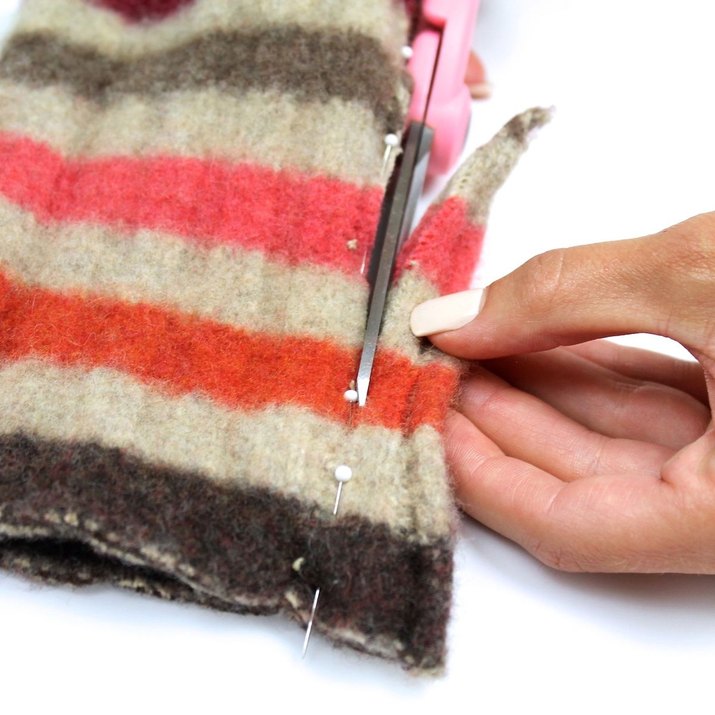
Trim Seams and Create Thumb Holes
Trim the new seam on both gloves forming a natural thumb hole in the open space.
Testing Fit
Turn the gloves right side out and pull them onto each hand. Check the fit. If necessary, pin, sew, and re-cut the gloves. When satisfied with the fit, remove the gloves and turn them inside out.
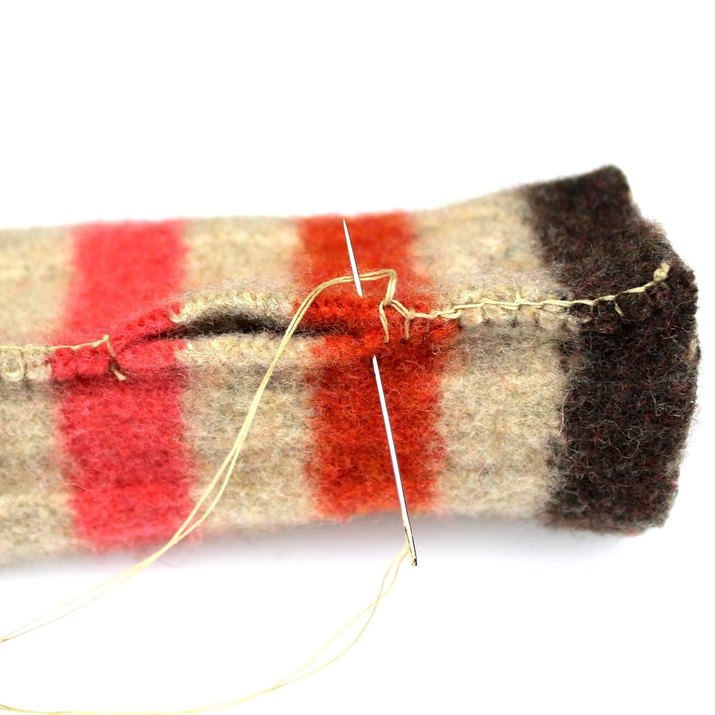
Final Seams
On both gloves, sew a final seam for strength. Use the first seam as a guide, and resew the seam: a blanket stitch works best. Don't sew over the open section that forms the thumb hole. Turn the gloves right side out.
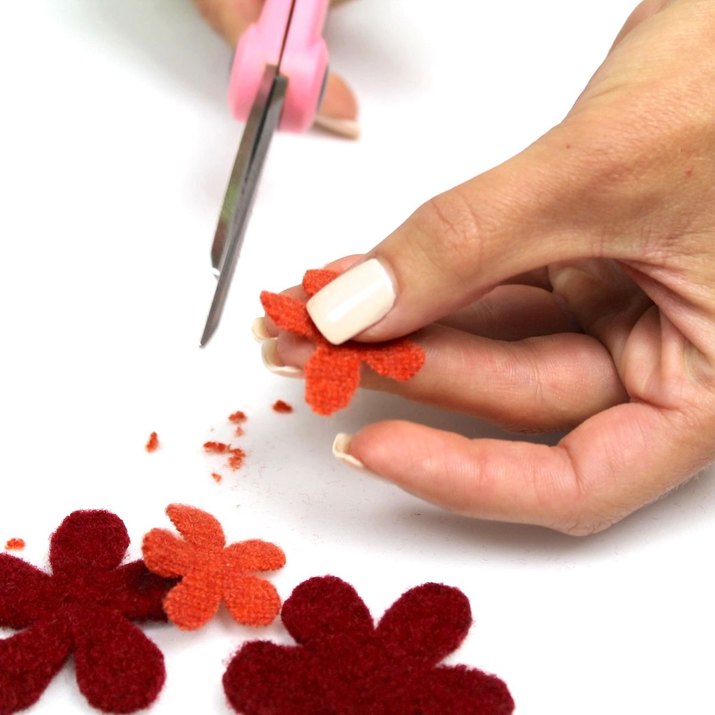
Embellish Gloves (Optional)
If you'd like, you can easily embellish your gloves by adding felt flowers (as shown here) or by adding decorative glove straps on the wrists (as shown in the video featured here). To make flowers, use wool from other parts of the felted sweater or felt scraps of contrasting colors as shown. On the wrong side of the fabric, draw and cut four flowers. Two flowers should be slightly smaller than the other two.
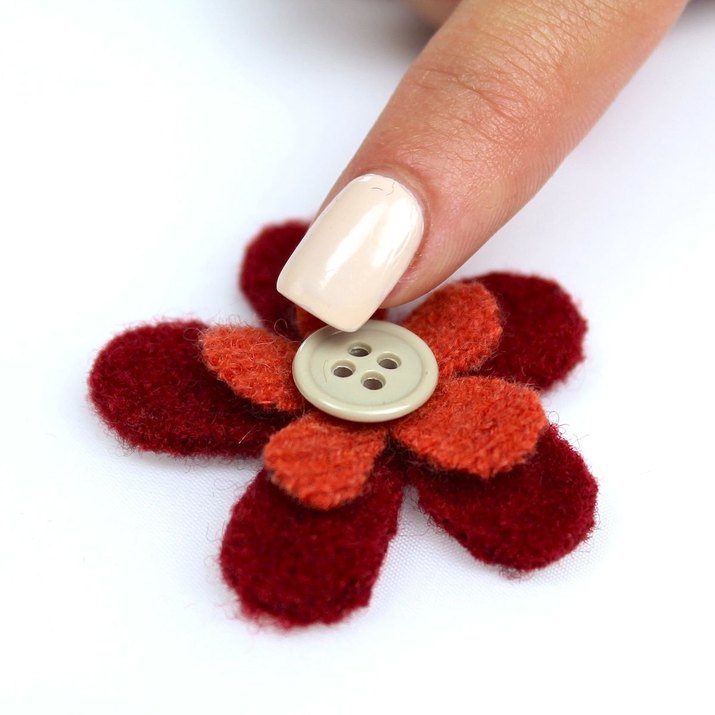
Combine Flower Parts
Turn the flowers so the right side of the fabric is facing up. Stack and align the flowers with the bigger flowers on the bottom. Place a button in the center of each stack.
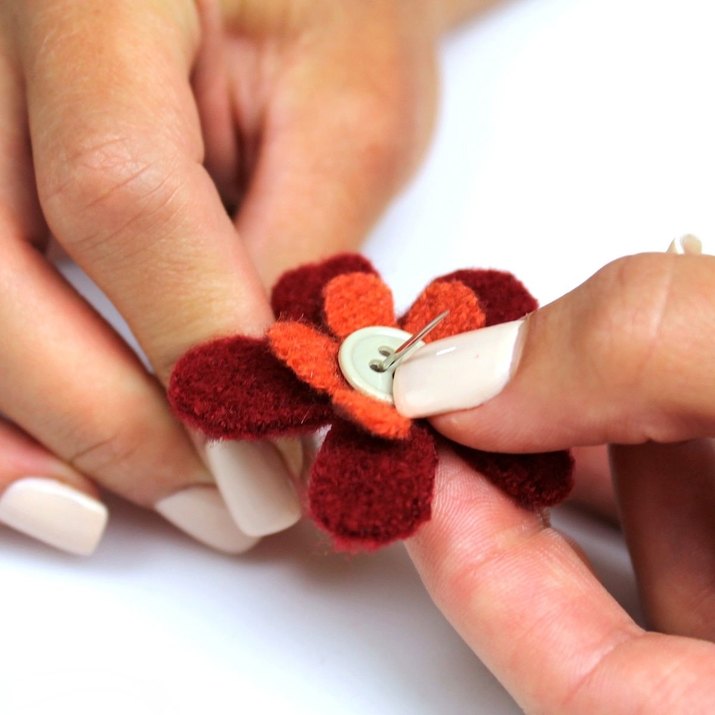
Sew Flowers Together
Starting from the back side, insert a needle with about 10 inches of knotted thread through all layers of the flower (including the button), and pull the thread tight. Insert the needle back through the button and flower layers and pull tight. Secure the flower by knotting the thread on the back side without cutting the thread or removing the needle.

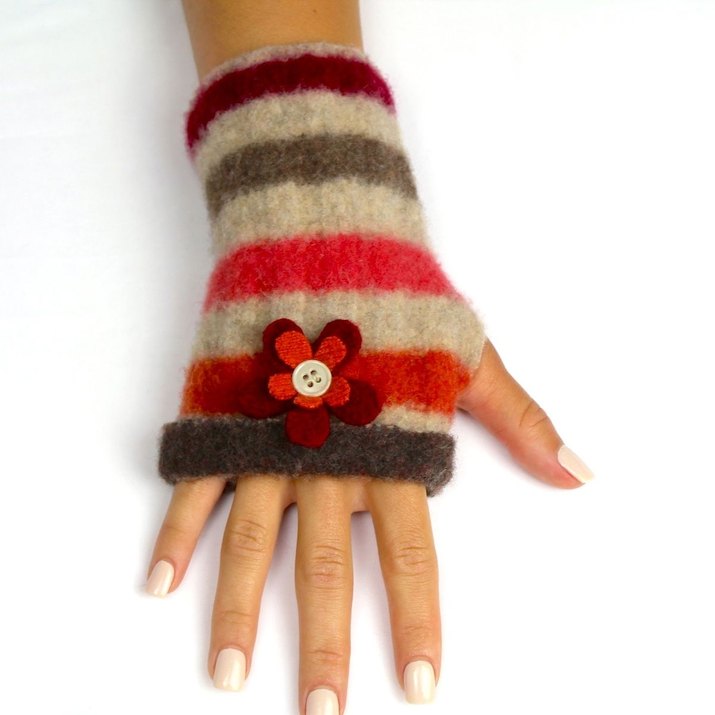
Sew Flowers On Gloves
Place flowers on gloves about 3 inches from the finger end and centered on the top of each glove. Sew them securely to the gloves using the needle and thread still attached to each flower.
Finish Gloves
Fold over about 1 inch along the top edge of each glove. Tack in place with a single stitch on the top side of each glove and a single stitch on the bottom side of each glove. Gloves are complete. To make arm warmers instead of gloves, cut the sleeves longer, and follow the same instructions.
Advertisement
Video of the Day