Things You'll Need
Screwdriver
Circuit tester
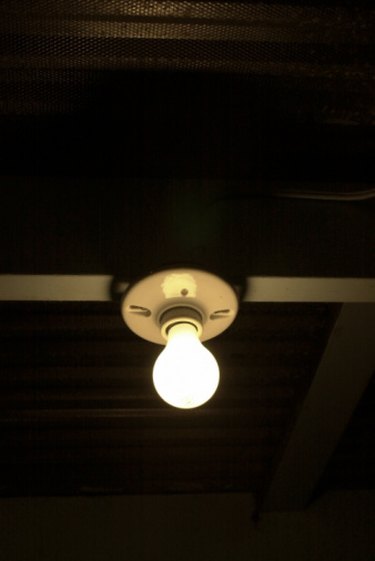
Porcelain light sockets usually hold a single bulb and can be controlled by a pull chain or a light switch. They're often used in basements and attics to provide basic light. A fixture of this type is easy to install and even easier to replace if it becomes damaged because the electrical box it is attached to is already in place.
Step 1
Turn off the light switch controlled the porcelain light socket. Shut off the power to the lamp holder at the circuit breaker panel or fuse box.
Video of the Day
Step 2
Unscrew the bare light bulb from the socket in the lamp holder, using your fingers. Make sure the bulb is cool before you touch it. Remove the bulb and set it aside.
Step 3
Unscrew and remove the mounting screws that hold the porcelain light socket to the electrical box. Set the screws aside. Pull the lamp holder carefully downward to expose the black and white electrical wires connected to the underside of the unit.
Step 4
Place the contacts of a circuit tester on each wire to double-check that no power is coming through the wires. If the tester lights up, the wires are live. Locate the correct circuit breaker or fuse and shut down the power. Do not handle the wires until you have confirmed that the power is off.
Step 5
Loosen the two screws securing the wires to the contacts on the back of the lamp holder. The wires are now disconnected from the lampholder. Set the lamp holder aside to be discarded later.
Step 6
Loosen the two contact screws on the underside of the new lamp holder, using the screwdriver. Slip the black wire under one screw and tighten it with the screwdriver. Slide the white wire under the other screw and tighten it. Either wire may be attached to either screw.
Step 7
Press the new lamp holder against the electrical box, pushing the wires carefully back inside. Align the mounting holes on the lamp holder with the screw holes on the edges of the electrical box. Secure the new lamp holder with the mounting screws you removed earlier.
Step 8
Screw the light bulb into the socket.
Step 9
Restore the power at the circuit breaker panel or fuse box.
Warning
Use extra care when working with electricity.
Video of the Day