Things You'll Need
2 cups water
2 cups flour
1 cup salt
4 tsp. cream of tartar
1/4 cup vegetable oil
Food coloring (six colors)
Blender
Saucepan
Waxed paper
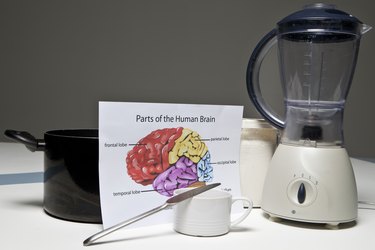
Illustration of a brain with parts labeled
Butter knife
Creating a model of a brain for a school project can be both educational and entertaining. You can take this opportunity to teach your child about the brain while spending time together and enjoying a creative activity. Choosing a model that requires time in the kitchen will help develop your child's science skills and his cooking skills at the same time. Incorporate educational elements into this activity, such as discussing the various parts of the brain and the difference between the left and right sides.
Step 1
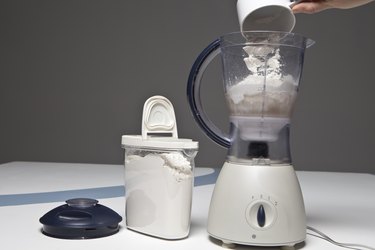
Place 2 cups water, 2 cups flour, 1 cup salt, and 4 tsp. cream of tartar in a blender. Blend on medium power until the mixture is smooth. If you don't have a blender, you can use a large bowl and whisk to combine the mixture. While you're preparing the mixture, talk with your child about the main function of the brain as the center of our central nervous system, which controls body behavior and helps us learn about and understand the world around us.
Video of the Day
Step 2
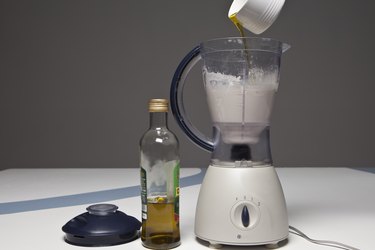
Pour 1/4 cup vegetable oil into the blender. Continue to blend until the vegetable oil is thoroughly mixed in. If you don't have vegetable oil, you can use other types of cooking oil. The vegetable oil will help make the mixture less stiff.
Step 3
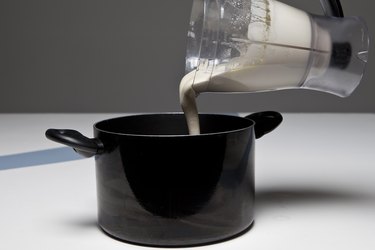
Place the mixture into a large saucepan. Put the burner on low heat and cook. You're finished when the mixture starts to get visibly lumpy.
Step 4
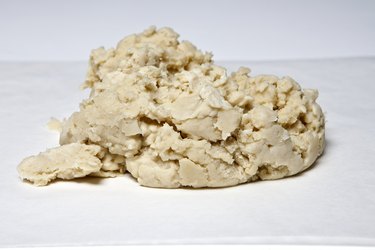
Tear off a large sheet of waxed paper and place the cooked mixture on it. Allow the mixture to cool before touching it.
Step 5
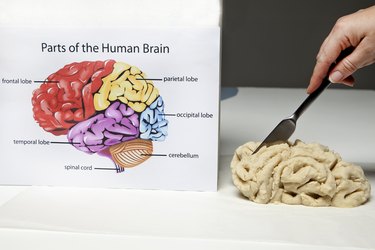
Knead the mixture gently, shaping it gradually into the form of a brain. Use an illustration of a brain as a model. Use your fingertips to add subtle wrinkles that represent the gyri, or ridges of the cerebral cortex. Using a butter knife, add a subtle line down the middle of the brain to demarcate the right and left sides. Explain to your child that the left side of his brain is more rational and analyzes his decisions carefully, while the right side is more creative and intuitive.
Step 6
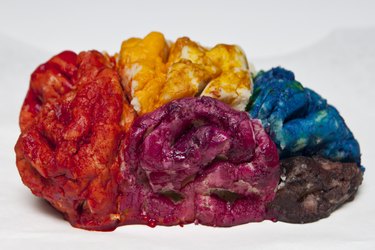
Add the food coloring to represent the different parts of the brain, using a different color for each section. For example, you might use red to represent the visual center, orange for the auditory center and blue for the frontal lobe. With older children, around 9 or 10 years of age, you can talk about the smaller parts of the brain as well, such as Broca's area and the frontal eye field.
Warning
Explain all safety rules to your child before starting the brain model project. Make sure he understands all the rules for staying safe in the kitchen.
Video of the Day