
Using solar powered energy around the home can eventually save you money since solar power is a renewable source. This especially applies to outdoor lighting systems that may have enough sun exposure to power themselves. This article will explain how to build a basic solar powered light that you can time to charge during the day and come on at night.
How To Build A Solar Powered Light
- charge controller
- connecting lead wires
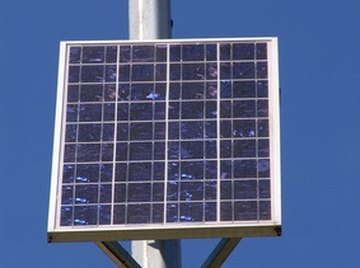
- photovoltaic array
- two fuses
- 12 volt DC-powered all-weather light
Ensure your photovoltaic array will provide the required wattage to power the light. Photovoltaic cells tend to provide around 20 percent of the energy collected, so make sure the array is big enough and will be placed to gain the most sun exposure.
Connect the electrical lead wires from the array to the charge controller’s respective positive and negative terminals. The charge controller will regulate how long the solar battery needs to receive the electricity generated by the solar array.
Connect a wire between solar battery’s positive terminal to one end of a fuse. Use a lead wire to connect the other end of the fuse to the charge controller’s battery positive terminal. Then connect the battery’s negative lead to the charge controller’s battery negative connector.
Attach a lead between the charge controller’s light control positive terminal and one end of the fuse. Connect the other end of the fuse to the light’s positive terminal. Then attach a wire between the negative terminal on the charge controller’s light control to the light’s negative terminal.
Set the charge controller’s timer to adequately receive a full charge and then turn on the lights at a specific time.
Mount the array on top of the pole. Attach the light to the pole at the desired height. Ensure all lead wires from the array and the light are connected to the charge controller after mounting, and then activate the controller.
Things You'll Need
About the Author
Paul Bright has been writing online since 2006, specializing in topics related to military employment and mental health. He works for a mental health non-profit in Northern California. Bright holds a Bachelor of Science in psychology from the University of North Carolina-Pembroke and a Master of Arts in psychology-marriage and family therapy from Brandman University.
Photo Credits
solar battery image by Tomasz Plawski from Fotolia.com