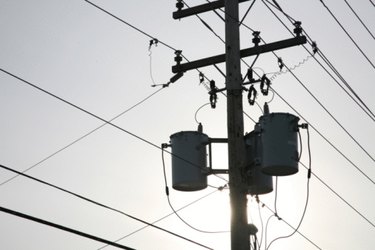
Utility poles are a fixture of modern living. They support the various cables that transfer electricity and fiber-optic data from their points of origin to your home. As they are vital to the infrastructure of modern society, they consist of specific types of pressure-treated wood designed to guard against rot, insect activity, and damage due to harsh weather conditions.
Southern Yellow Pine
Video of the Day
The most common type of tree used to manufacture utility poles is the southern yellow pine. The term denotes several specific species of yellow pine native to the Southern United States that are indistinguishable from one another when prepared for construction. The wood is notable for being one of the most popular types used in home construction, and laboratory tests show it to be extremely dense and strong despite its light weight.
Video of the Day
Douglas Fir
Another tree commonly used to make utility poles is the Douglas fir. The fir is a coniferous tree that grows throughout the Western United States and parts of Mexico. It is unique in its ability to remain stable even when cut in an unseasoned state. Douglas firs are noted for their ability to bear tremendous loads without bending or breaking under the strain, and make ideal construction material for poles.
Jack Pine
Jack pines are also used to make utility poles, though they are less common than the southern yellow pines. This species of pine is widespread throughout Canada and parts of the Midwestern United States. It has similar strength properties to its southern yellow cousin, but it decays slightly faster and tends to have more knots, making it less suitable for construction purposes.
Lodgepole Pine
The lodgepole pine is native to British Columbia and the Rocky Mountain sections of the United States. Like the southern yellow pine, the lodgepole pine is tall, straight and lightweight, making it suitable for the construction of utility poles. However, the bark is much thinner than a typical pine, making it more susceptible to damage from fires and harsh weather conditions.
Western Red Cedar
The western red cedar is native to the coastal areas of the Pacific Northwest. It is a pricier option than most of the other trees used for the construction of utility poles. However, it is known for having a higher-than-average resistance to insect activity and decay, which means less money spent on the process of adding preservative chemicals to the wood and maintenance of the poles over the years. This makes the extra initial investment worthwhile to some utility companies.
- Environmental Literacy Council; Wood Utility Pole Life Cycle; April 2008
- United States Forest Service; Southern Yellow Pine; July 1936
- Western Wood Products Association; Douglas Fir & Western Larch; May 2002
- United States Forest Service; Pinus Banksiana Lamb; December 2010
- National Park Service; Fire Ecology; June 2007
- North American Wood Pole Council