
How Does Faux Marble Differ From Real Marble?

Faux marble is usually created with paint techniques. A faux marble look can be created on any surface by using a feather to mimic the veins that appear in authentic marble and a sea sponge to blend the paint colors together. Faux marble tiles can be purchased from a kitchen supply store or flooring store.
Faux Marble
Laminate is painted to look like marble and all you have to do is install it.
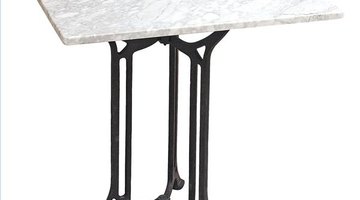
Real Marble
Marble is a metamorphic rock made of limestone and calcite. Marble is an incredibly sturdy building material that can be polished or left raw. Marble comes in many different varieties, including Black Marble, Brown Marble, Pink Marble and Penteli Marble (a yellow color). Marble is commonly a sign of wealth and status.
Which Option is the Best Solution?
Marble will be far more sturdy and far more expensive than faux marble. If you are doing a permanent project and have the funds, authentic marble is your best option. Marble is commonly used on floors and countertops for its durability and style. Faux marble should be used on walls, columns or other decorative accents that may be changed frequently or would be too expensive to create with real marble.
The Drip Cap
- Faux marble is usually created with paint techniques.
- A faux marble look can be created on any surface by using a feather to mimic the veins that appear in authentic marble and a sea sponge to blend the paint colors together.
- Marble is an incredibly sturdy building material that can be polished or left raw.
Resources
Writer Bio
Megan Smith has been a freelance writer and editor since 2006. She writes about health, fitness, travel, beauty and grooming topics for various print and Internet publications. Smith earned a Bachelor of Fine Arts in writing from New York University.
Photo Credits
- http://www.sxc.hu/profile/Capgros
- http://www.sxc.hu/profile/Capgros
More Articles