
What Is a Slab Basement?

Table of Contents
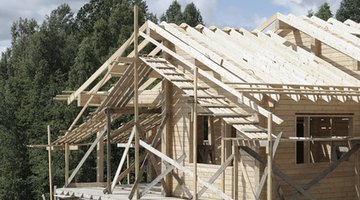
Pouring a slab is one way to begin to build a home. Preparation is much simpler than other forms of basements and foundations, but there are also disadvantages. Other foundations, such as basements and crawl spaces, are more complex.
The slab functions as the home's foundation and as the floor of the basement or lowest level.
Purpose
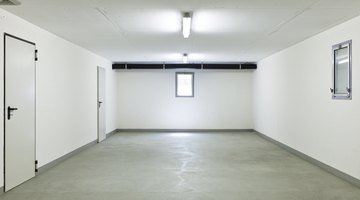
A slab basement is the simplest building foundation. In essence, it is a slab of concrete placed directly onto the ground. It also acts as the floor of the basement. Around the outside of the slab, the concrete forms a 2- to 3-foot deep beam that supports the rest of the house being built above.
Pouring
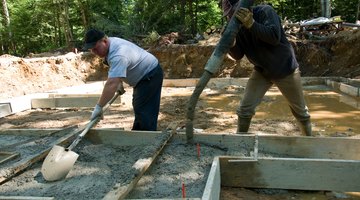
Before pouring the concrete, all sewer and electrical lines must be put in place. The pipes are embedded in the concrete. Below the concrete is a 6 inch pile of gravel covered by a plastic sheet to prevent excess moisture from reaching the slab. The slab itself is usually 4-6 inches thick.
Process

Once the concrete is poured over the surface, a screed board is used to smooth out any imperfections. A jitterbug tool is then used to bring any sand, water and cement to the surface. This ensures that the concrete has a smooth, durable surface. This is especially important because the slab will become the basement floor. Any large pieces of aggregate are pushed as close to the earth as possible.
Advantages

Slab basements require little preparation and are suited for warm, level sites. Little labor is necessary and only light formwork construction. The home is closer to the ground than in other designs, so fewer stairs are required during the rest of construction. The slab prevents water and other gases, such as radon, from entering the home because there is no space between the ground and the slab.
Disadvantages
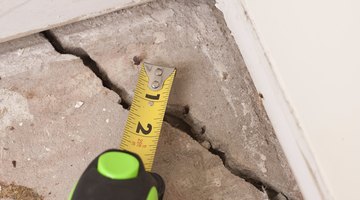
Slab basements are more prone to insect infestations. In cold climates the slab may crack, causing costly structural damage to the home. In winter the floor is cold, causing more expensive heating problems. Slabs are sensitive to tree roots and soil movement, and any repairs to the slab are difficult and expensive.
The Drip Cap
- Pouring a slab is one way to begin to build a home.
- Around the outside of the slab, the concrete forms a 2- to 3-foot deep beam that supports the rest of the house being built above.
- Once the concrete is poured over the surface, a screed board is used to smooth out any imperfections.
- Slab basements require little preparation and are suited for warm, level sites.
- The home is closer to the ground than in other designs, so fewer stairs are required during the rest of construction.
- The slab prevents water and other gases, such as radon, from entering the home because there is no space between the ground and the slab.
References
Writer Bio
Based in Seattle, Robert Bettington first began writing for his high school paper in 1993. He then wrote for “Mustang Psychology” while in college, contributed to “Central Coast Green Magazine,” and edited “Stuck,” a novel by George Basil. He received his Bachelor of Science in psychology from California Polytechnic University in 2000.
Photo Credits
- House gathers from gummed a bar. image by Vladimir Kolobov from Fotolia.com
- House gathers from gummed a bar. image by Vladimir Kolobov from Fotolia.com
- piovesempre/iStock/Getty Images
- Jupiterimages/Photos.com/Getty Images
- Photodisc/Photodisc/Getty Images
- Hemera Technologies/AbleStock.com/Getty Images
- beichh4046/iStock/Getty Images
More Articles