
Homemade Silk Plant Cleaner

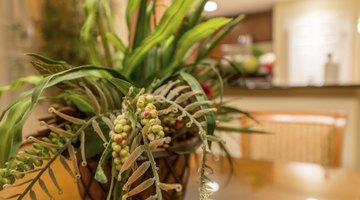
Silk flowers and plants never wilt, but they sit and collect unattractive layers of dust and dirt. Cleaning your silk plants can be as easy as blowing them with a hair dryer or rinsing with a garden hose.
Always use low heat and cool water when cleaning silk plants, because high temperatures could loosen the glue that holds floral pieces together.
Dry Cleaning
Often you can blow the dust off with a hair dryer on the low setting. Blow the arrangement outside or while holding it over sheets of newspaper to catch loosened dust. This is useful for detailed arrangements with many tiny petals. Shaking the floral stems in a large paper grocery bag that contains a cup of table salt will also remove dust from small to medium-sized silk plants.
Wet Wash Cleaning
If your silk plants need deeper cleaning, mix equal parts white vinegar and water in a spray bottle. Spritz the plants with this solution, and rinse them under a gentle spray of water at the sink or bathtub. Shake gently and let air dry. Other cleaning options include all-purpose cleaner, a drop or two of dish detergent in plain water, or a mixture of equal parts rubbing alcohol and water. Take your larger plants outside on the patio or driveway to spray them with the solution, and rinse with a light spray from a garden hose. If you're unsure about the colorfastness of silk flowers, test a small, inconspicuous area before wet cleaning.
References
Writer Bio
Jan Burch has written about home, garden, wellness and other topics since 1992. Her articles have appeared in ByLine, Living Natural and New Mexico Woman. Based in Albuquerque, Burch is a Feng Shui consultant and Jin Shin Jyutsu practitioner. A life-long crafting enthusiast, she holds a master's degree from the University of California.
Photo Credits
- photographereddie/iStock/Getty Images
- photographereddie/iStock/Getty Images
More Articles